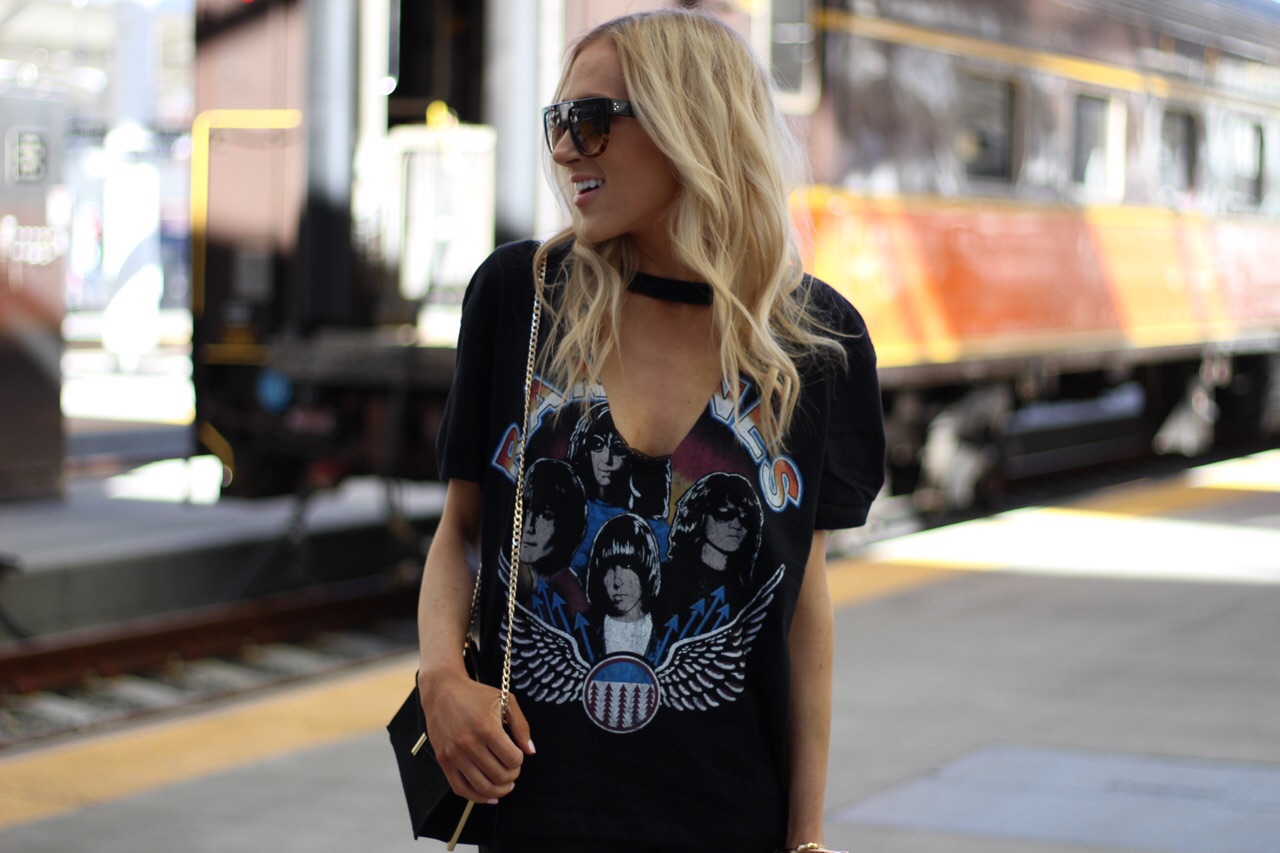
Rocker Tee + DIY

The theme of these weeks blog posts appears to be choker tops! I really didn't do that on purpose. But this is a fun post because it has a little DIY project involved! 

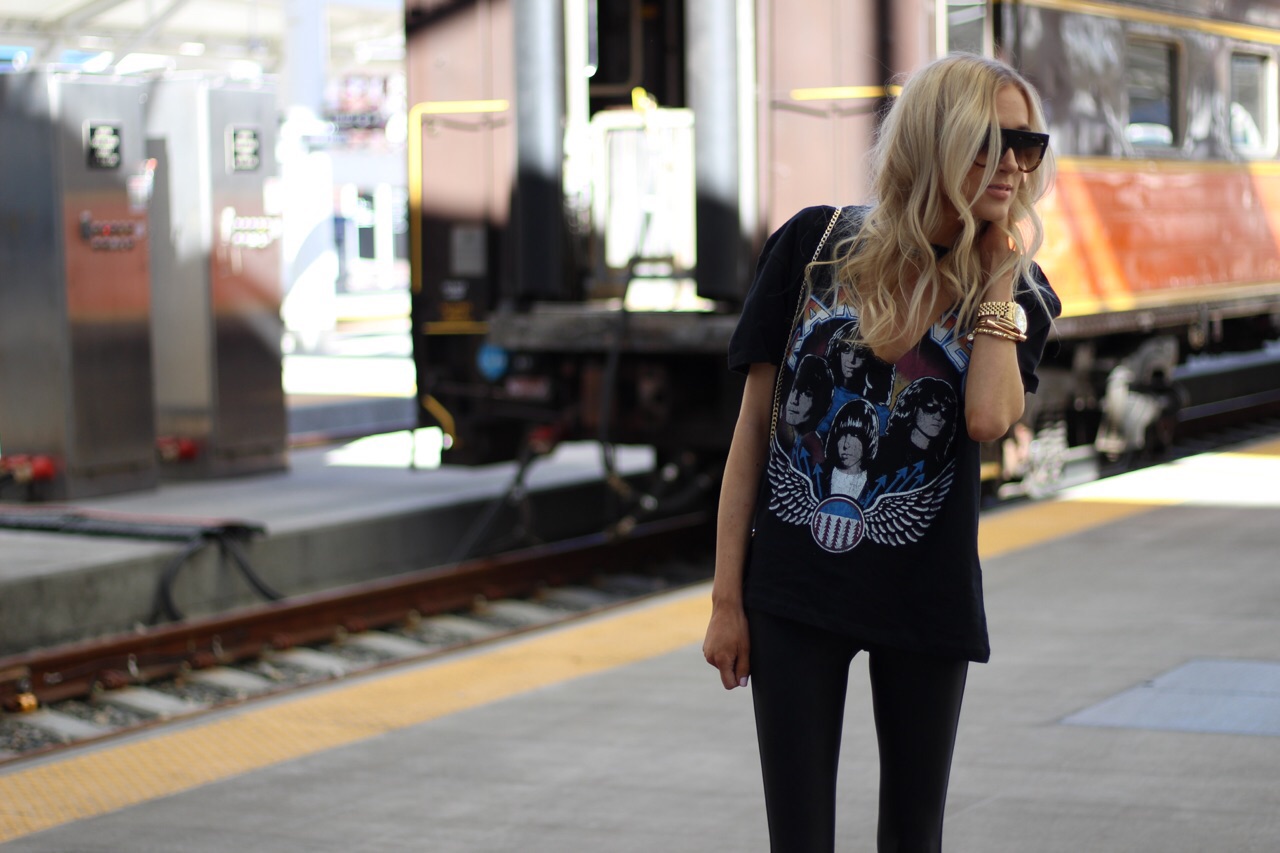
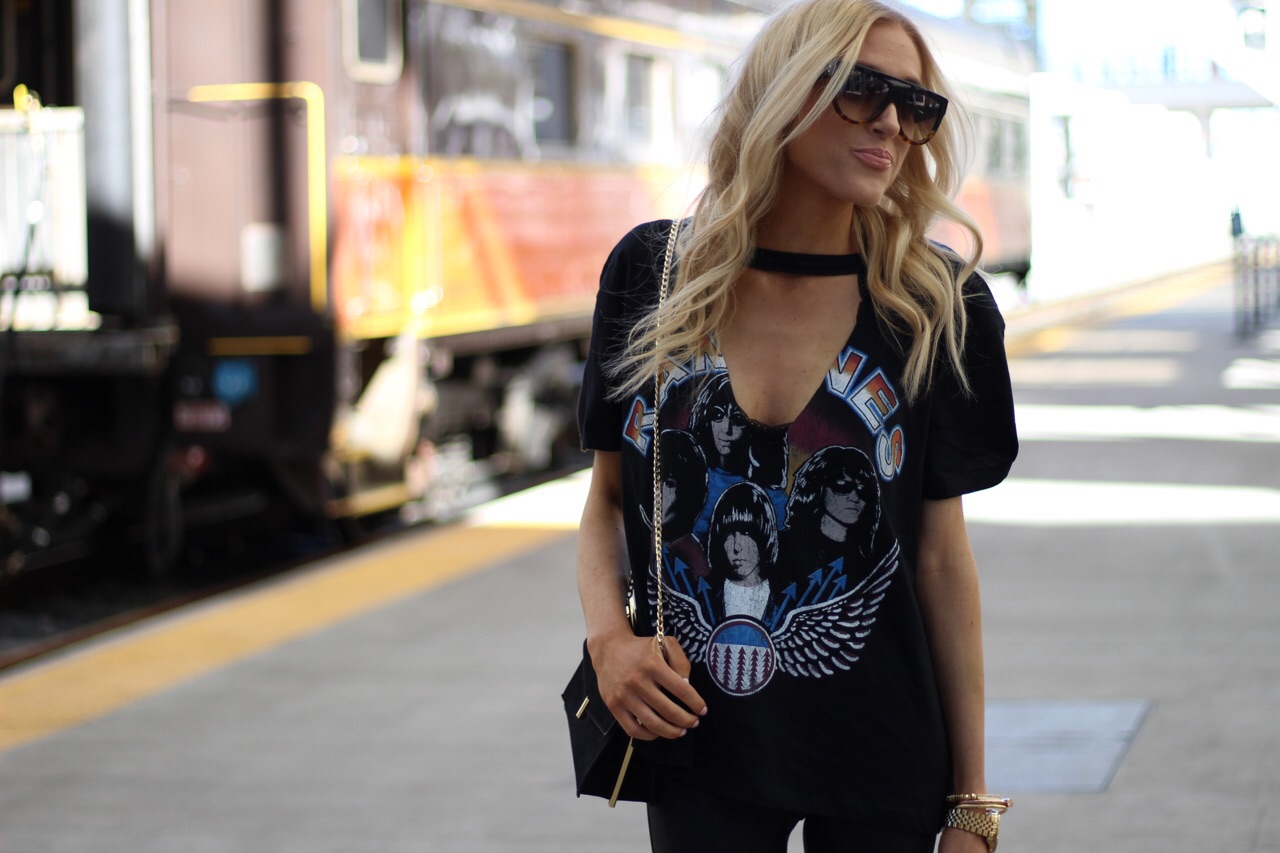
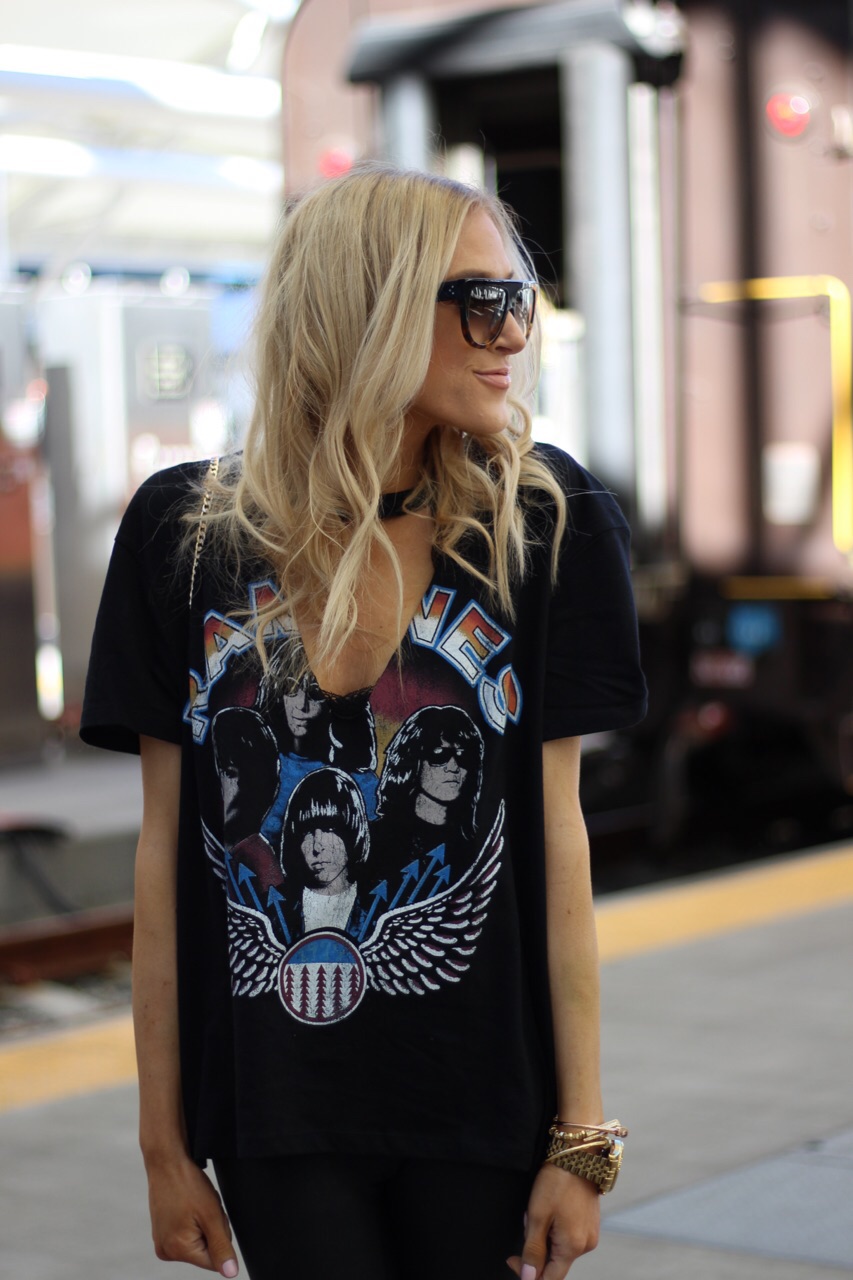
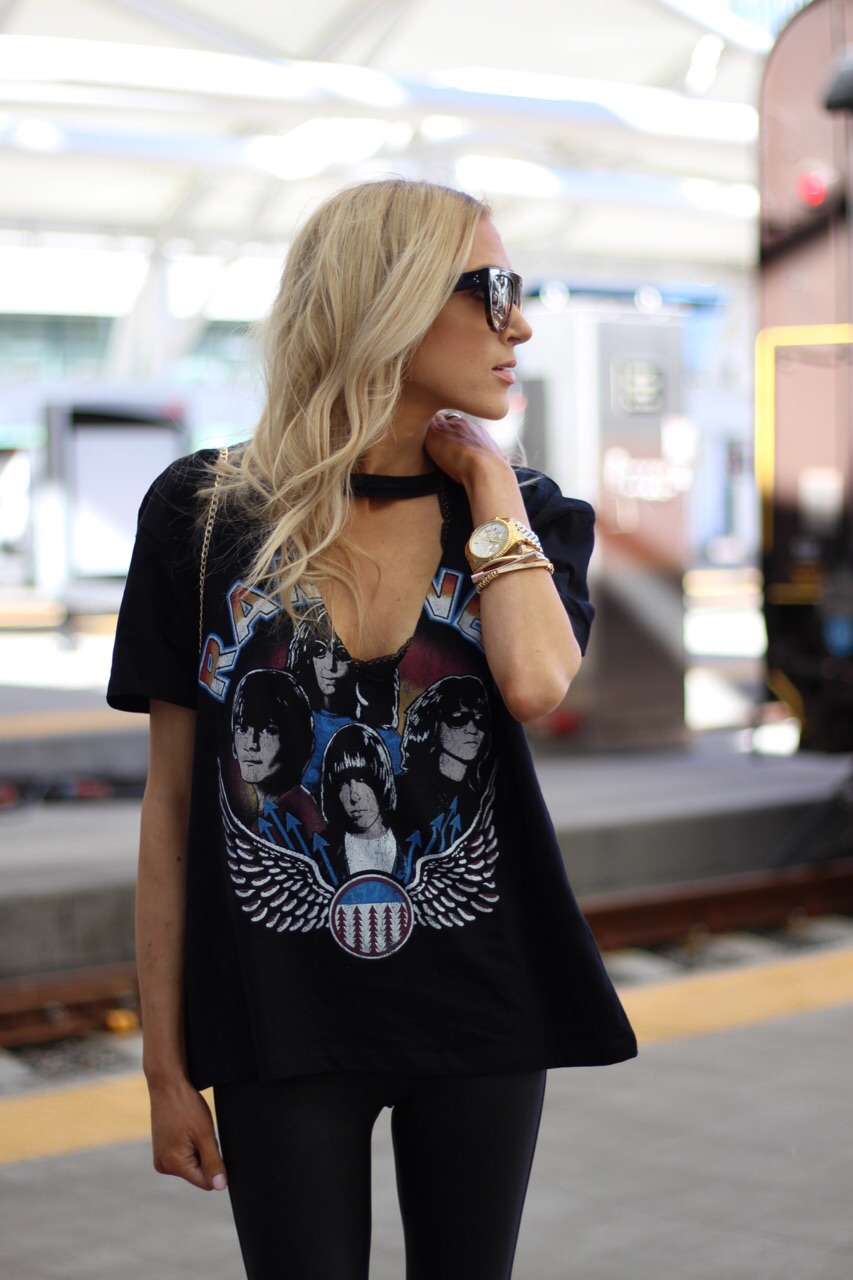
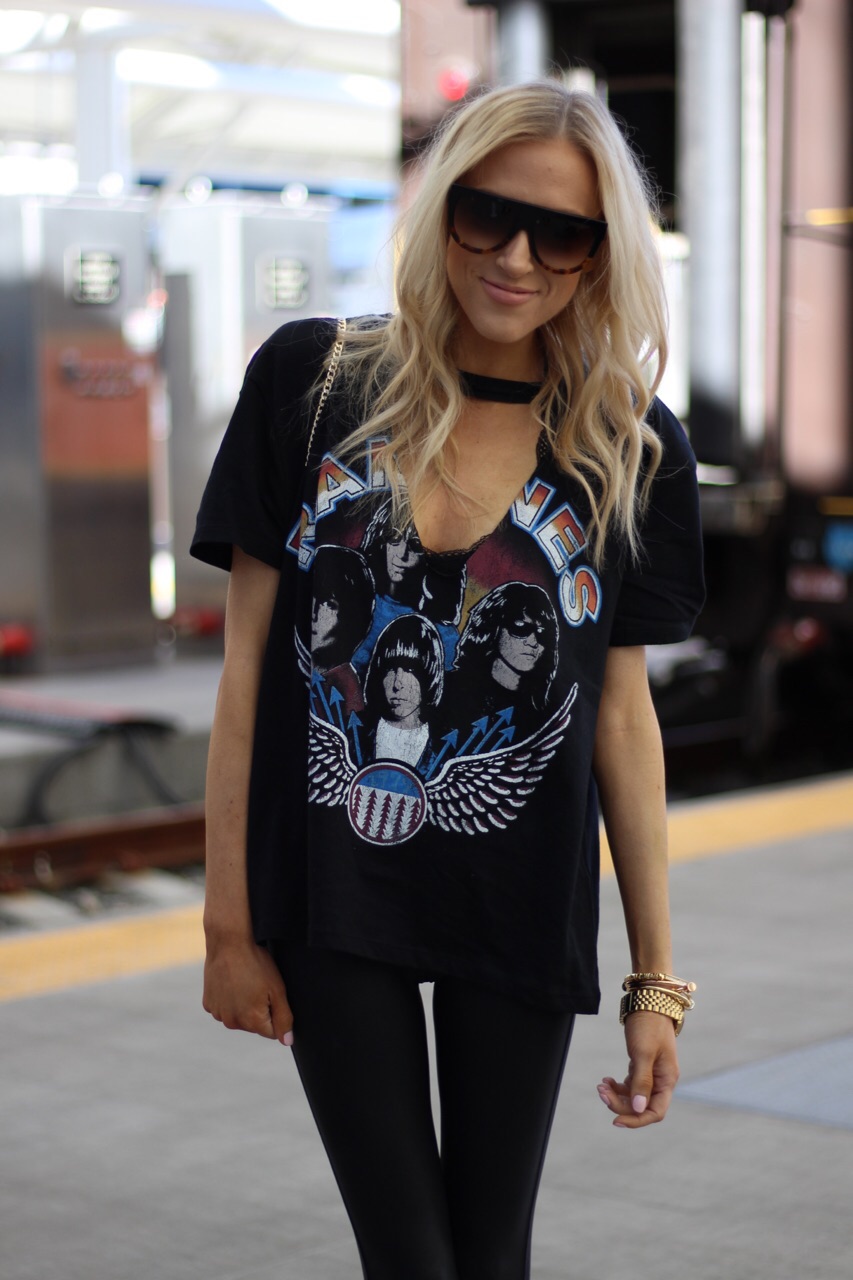
I LOVE graphic tees. You can search 'graphic tee' on my blog and see lots of examples of ways I love to wear them. I just think they're so fun and easy to throw on with jeans or leggings, or dress up with sequin skirts or leather pants. Oh the possibilities. 

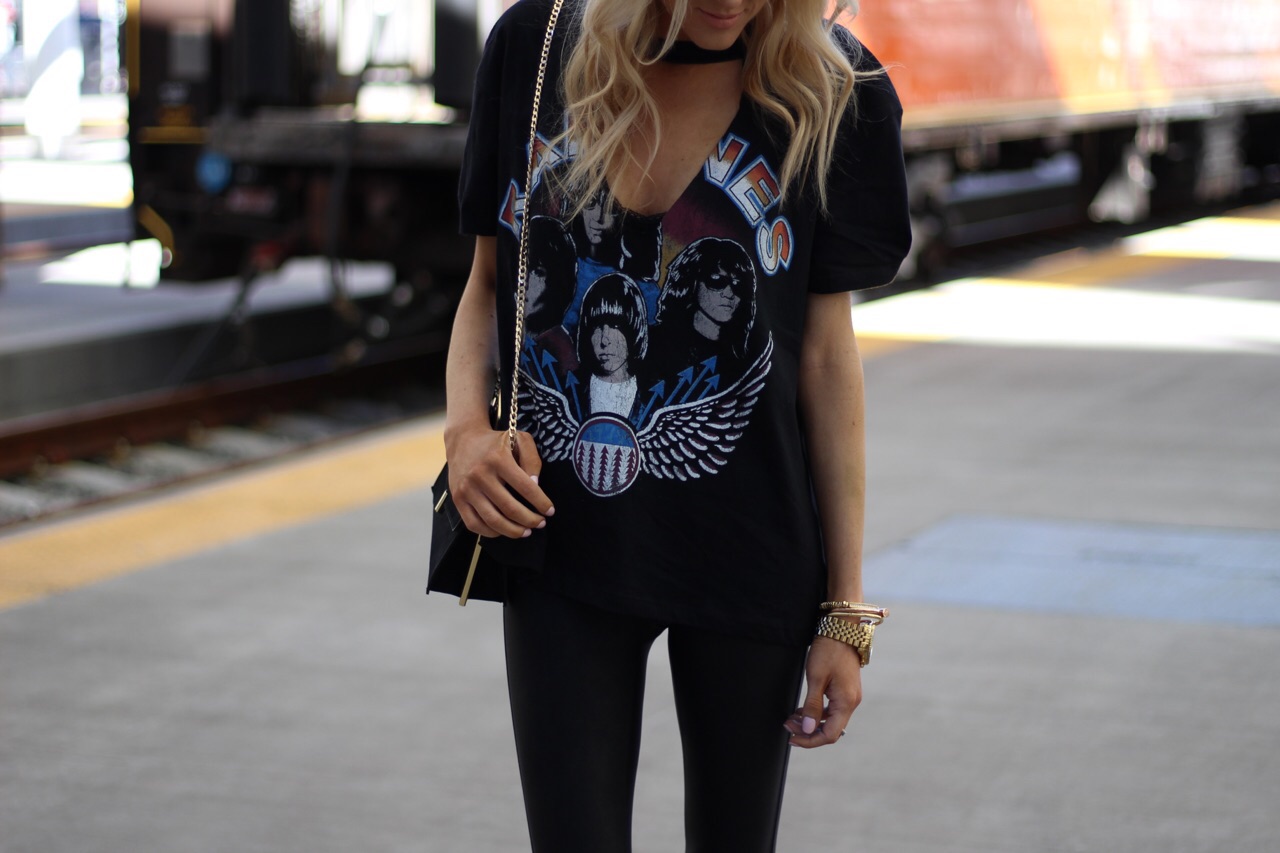
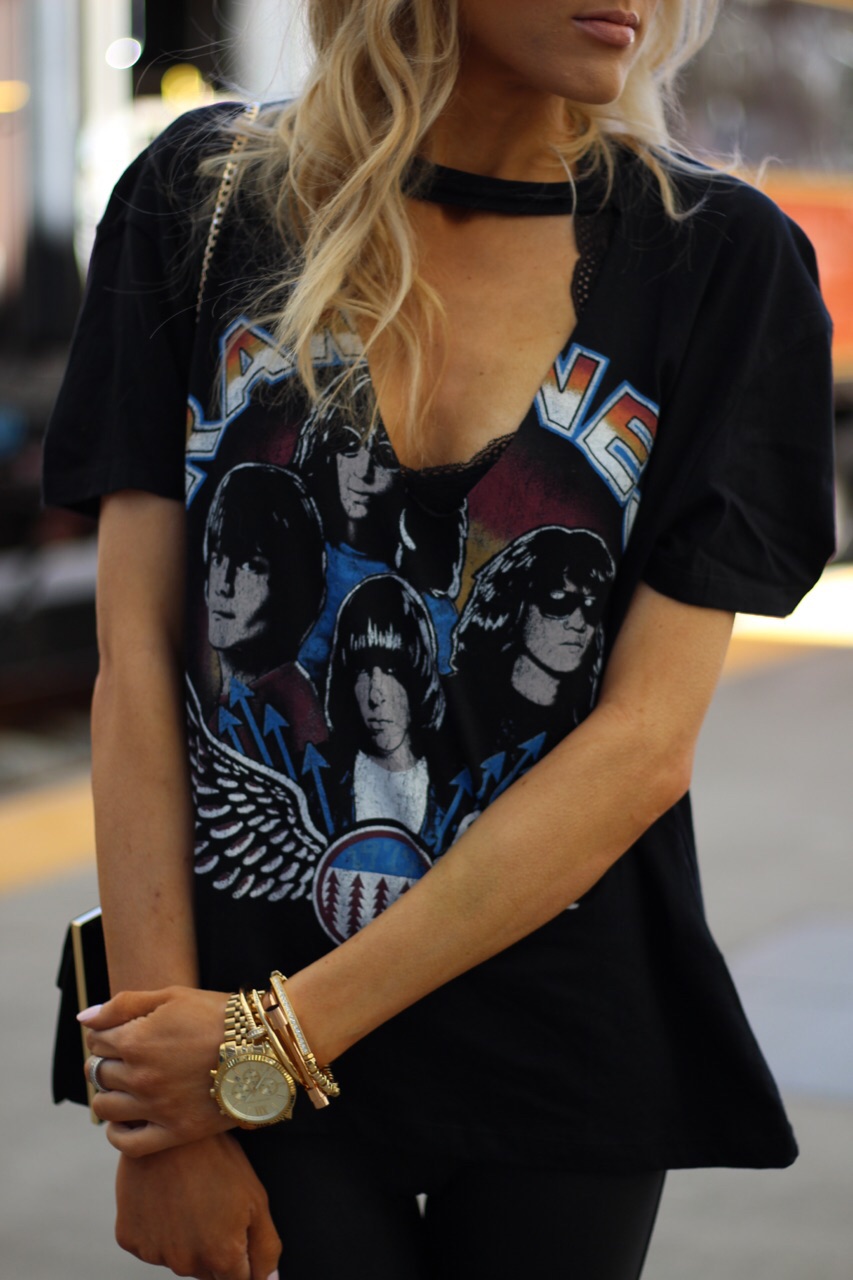
With this tee, I actually bought two - one in a size M to wear regularly, and one in a size L to cut. Feel free to make fun of me now. I wanted the cut one to be on the baggier side and still have a super relaxed fit after being cut. Plus, depending on how you cut it, you can leave room for your super cute lacy bralettes to peek through, which we all know I am ALL about. I'm not sure where this particular cut t-shirt style started, but I'm such a fan. I've seen it on a few bloggers, but Urban Outfitters also sells pre-cut shirts, so who knows. If you have a great vintage or thrift shop nearby, go digging for some fun old concert tees! I'm a sucker and bought the Zara version, but I had a vision in my head and just had to go for it (plus I don't really have vintage/thrift shops nearby to go hunting for the perfect tee). Again, you can make fun of me now. 

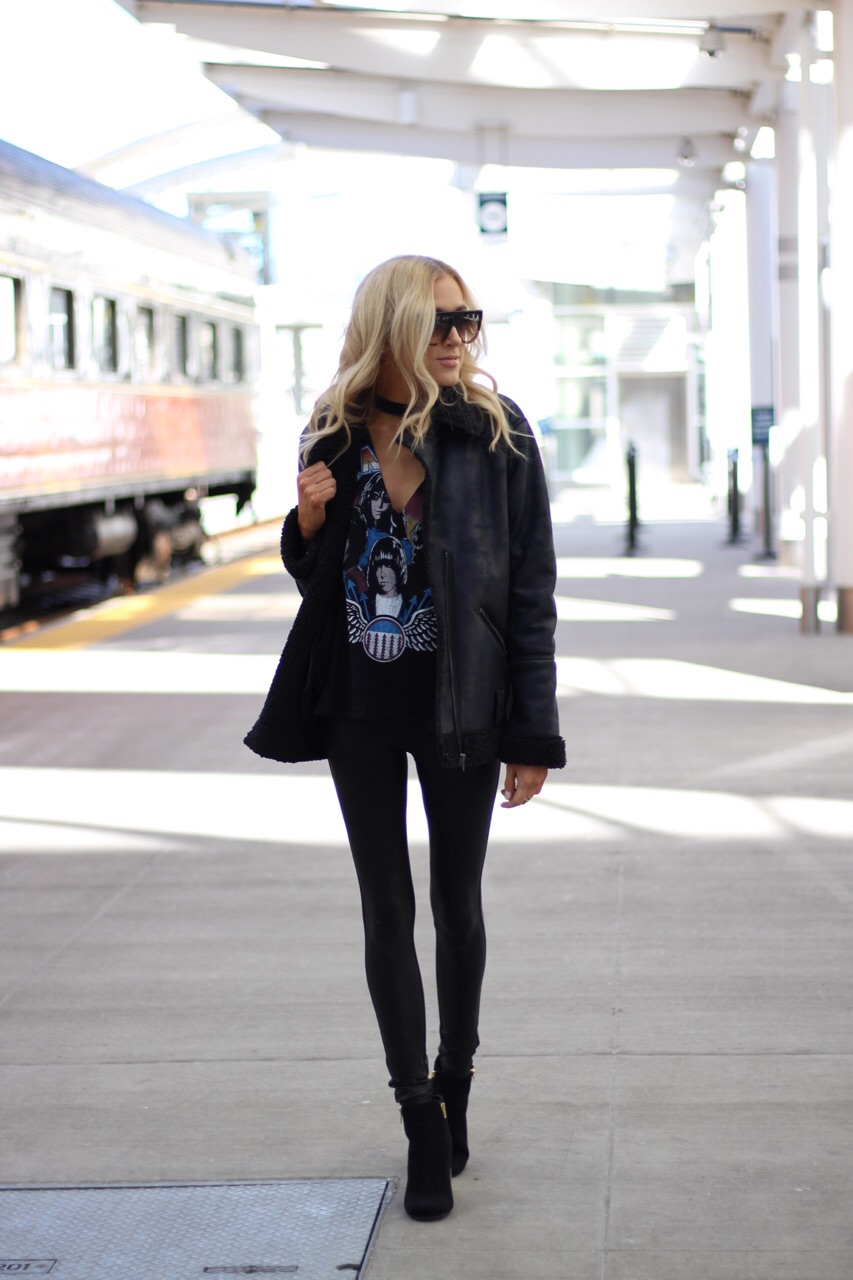
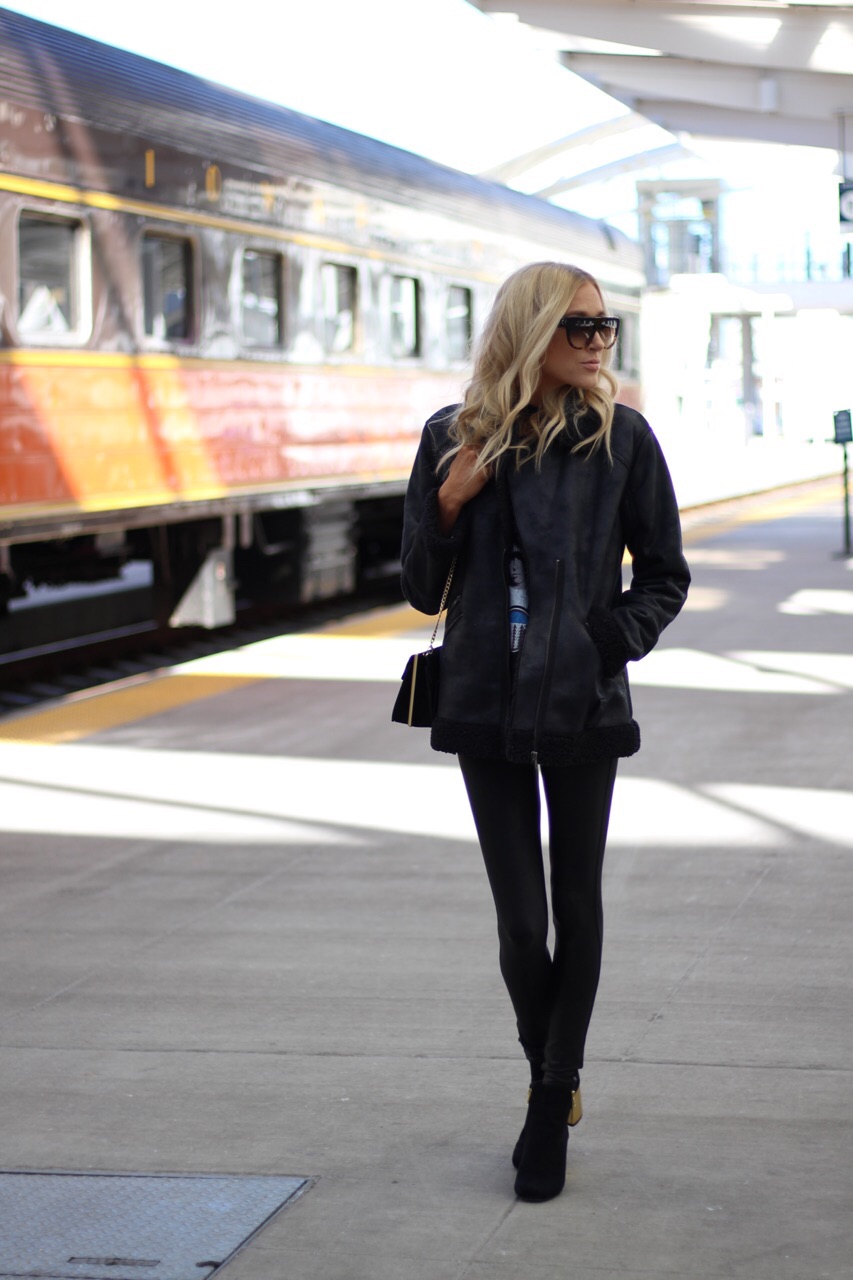
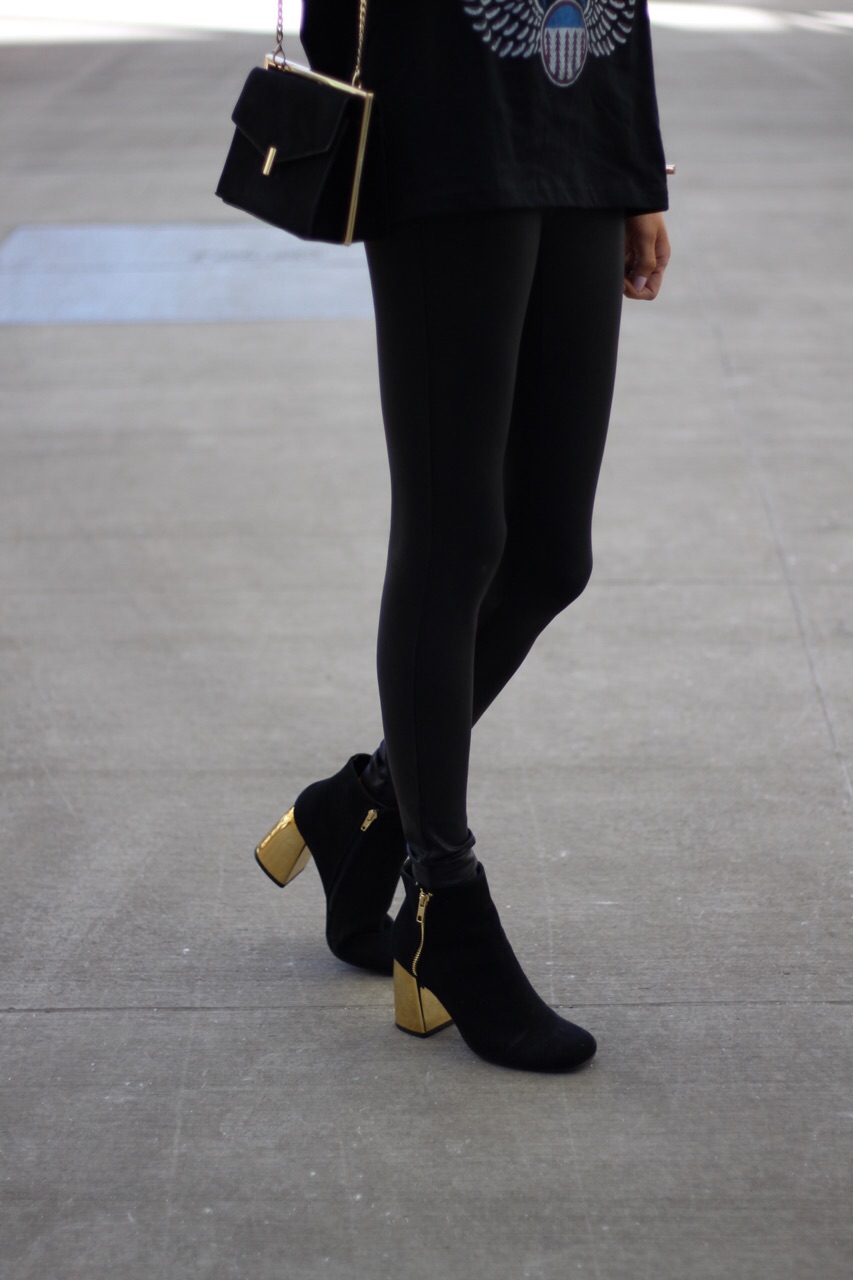
Anyway, this tee just makes an outfit. I paired with my MUST HAVE (seriously, if you don't own these yet, you really need to consider investing in a pair) leggings, fun booties, and a statement jacket. Easy, edgy and done. An outfit that can take you from happy hour and into the night with ease. 

Here's a little diagram and explanation on how I cut my tee to achieve this look:

1. Mark your cutting points. Decide how wide you want your V to be and how deep. Mine is 7" wide and 8" deep. You can put the t-shirt on and mark while it's on your body if that helps. Mark your two collar points first, then from the center of your collar (use the the neck-tag as your guide) mark how low your V is going to go - this mark you make will be the tip of your V.

2. Once you have your markings, start cutting. It helps to the V first. Start at one of your collar points and cut on a diagonal angle to the bottom of your V point you marked, then match your angle as you cut the other side. Then, cut below the ribbed part of the collar. This is the most important part of all. All cutting has to be below the ribbed collar, otherwise you won't have a shirt.

This is one of those things that definitely doesn't have to be perfect. It's meant to be a fun beat up graphic tee sort of vibe. I also feel like it's much harder to explain than the process actually is. And if my oh so excellent instructions didn't do it for you, head to Pinterest or YouTube, or practice on an old tee. And if the thought of cutting a tee yourself is really just too much, you can purchase THIS already cut one and pretend you did all the work yourself. I certainly won't tell :) 

I hope you guys enjoyed this look and the little DIY element. As always, thanks for reading, and please let me know if there's anything else you'd like to see on my blog!

SHOP THE LOOK

Tee (pre cut here, other options here, here, here) / Leggings (MUST HAVE!) / Jacket / Booties (on sale!) / Purse c/o (on sale!) / Watch / Bracelets 1, 2, 3 / Sunnies

Easy Outfit + Theory Behind My Blog

Happy Monday, I hope you all had a good weekend!

I wanted to share a simple look with you today, which also goes along with a message about my blog that I wanted to get across. 

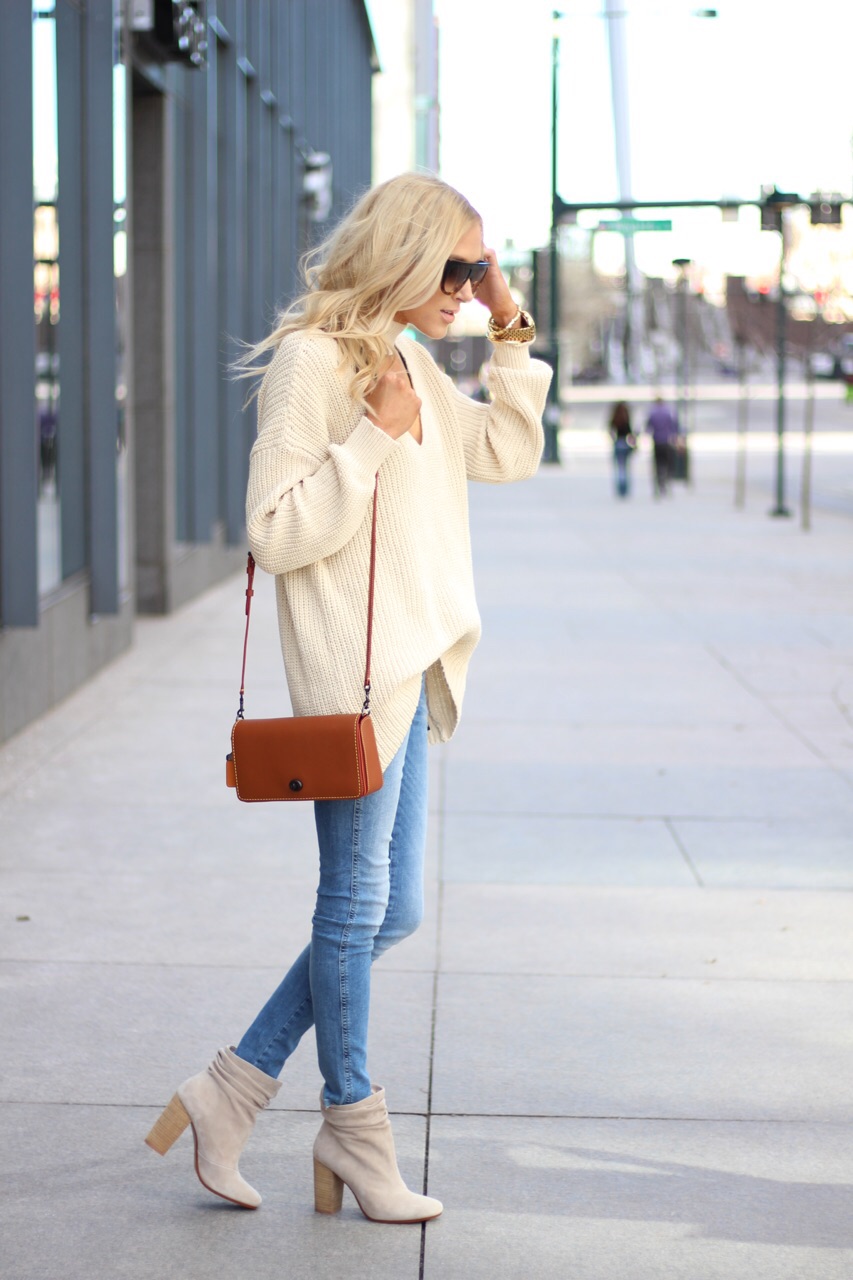
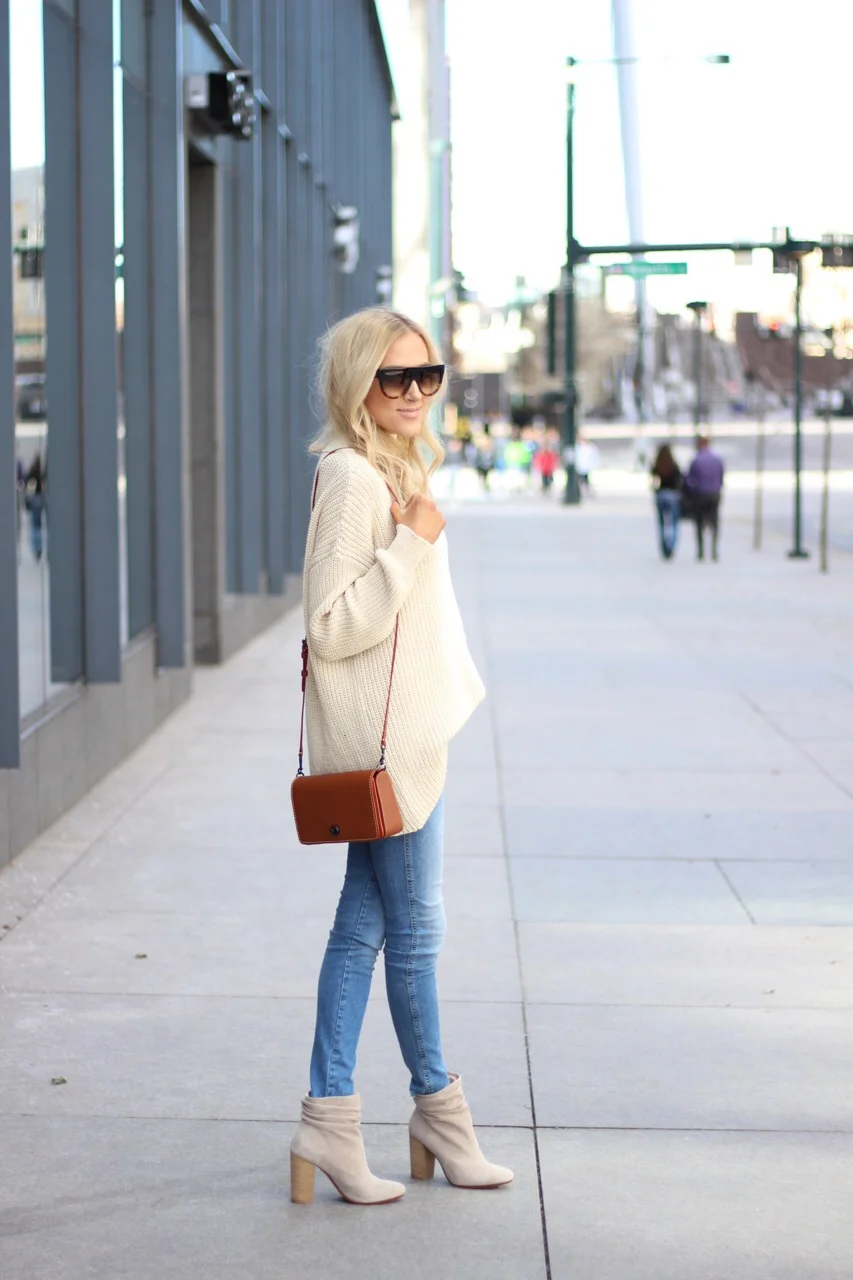
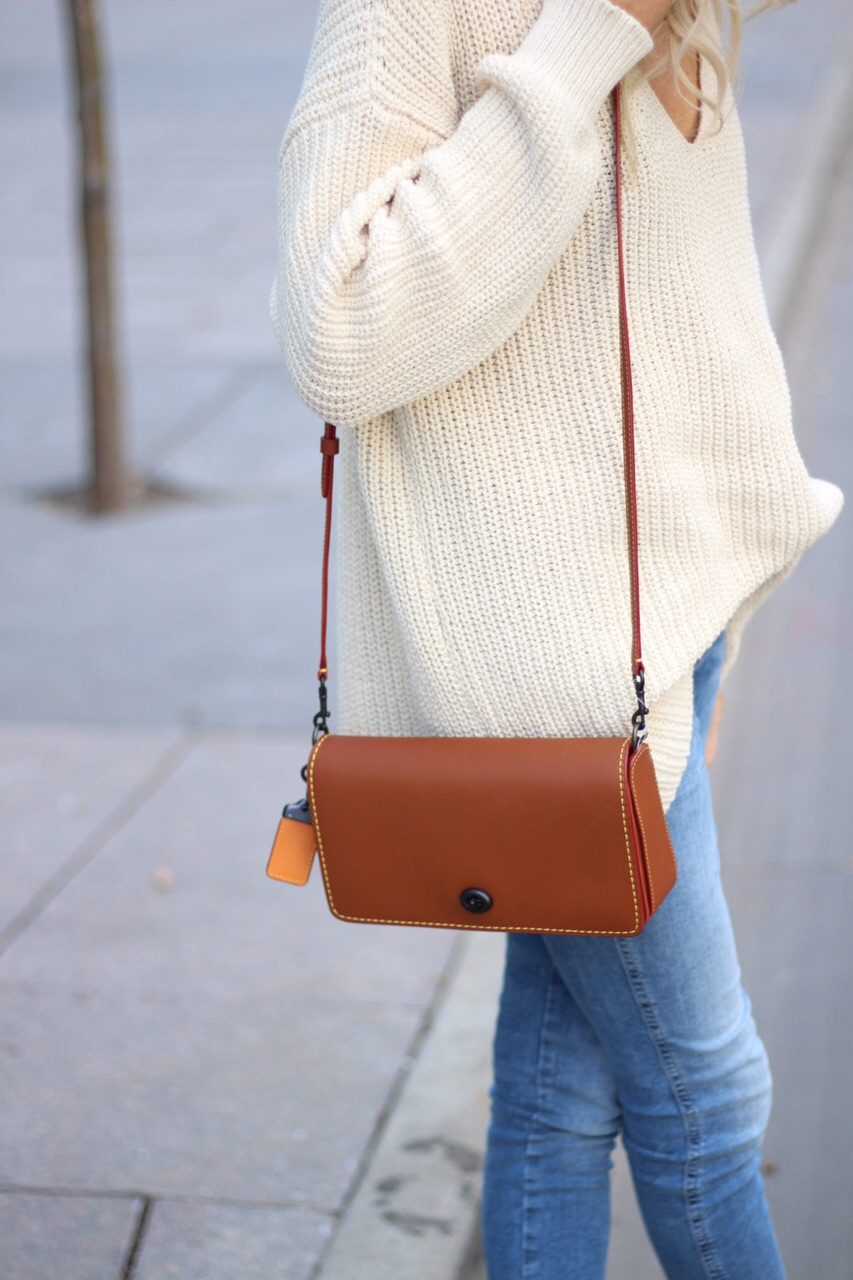
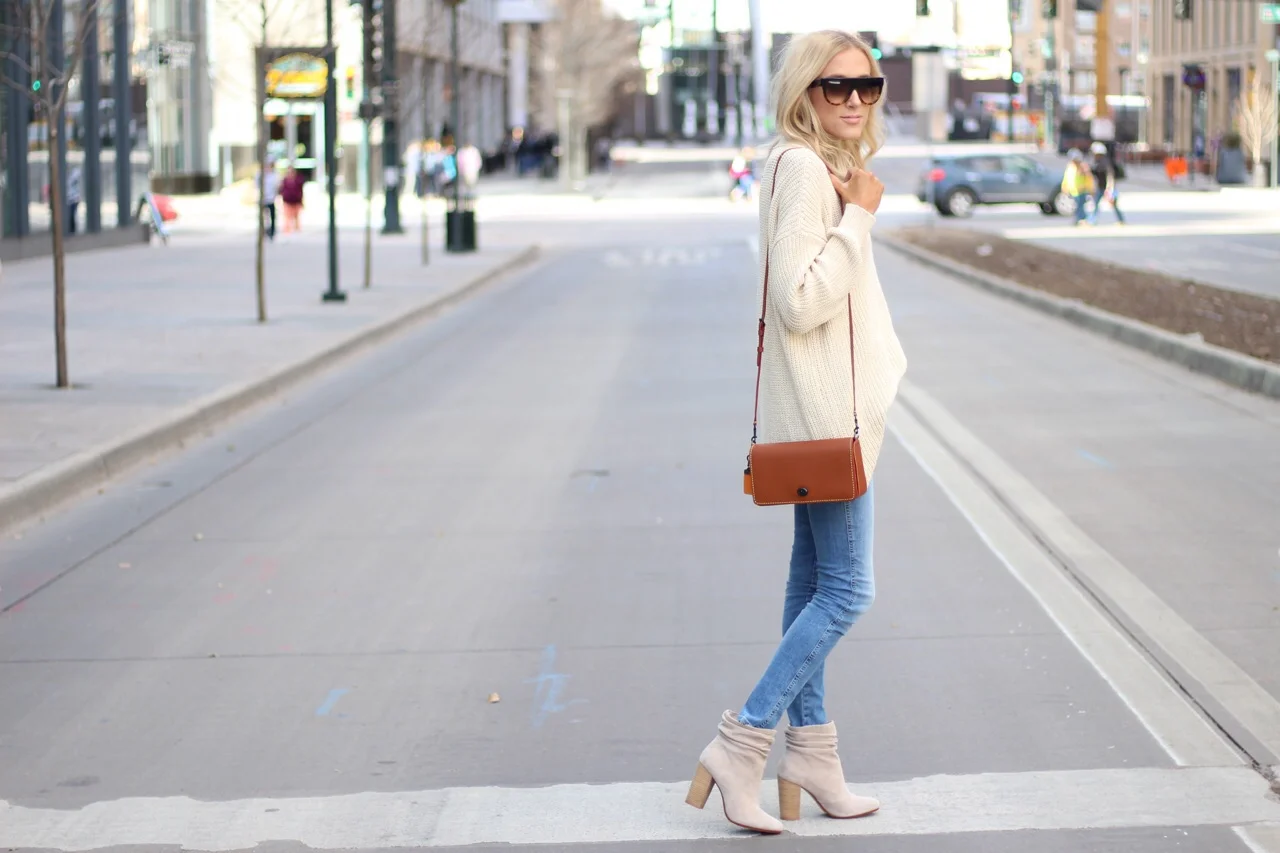
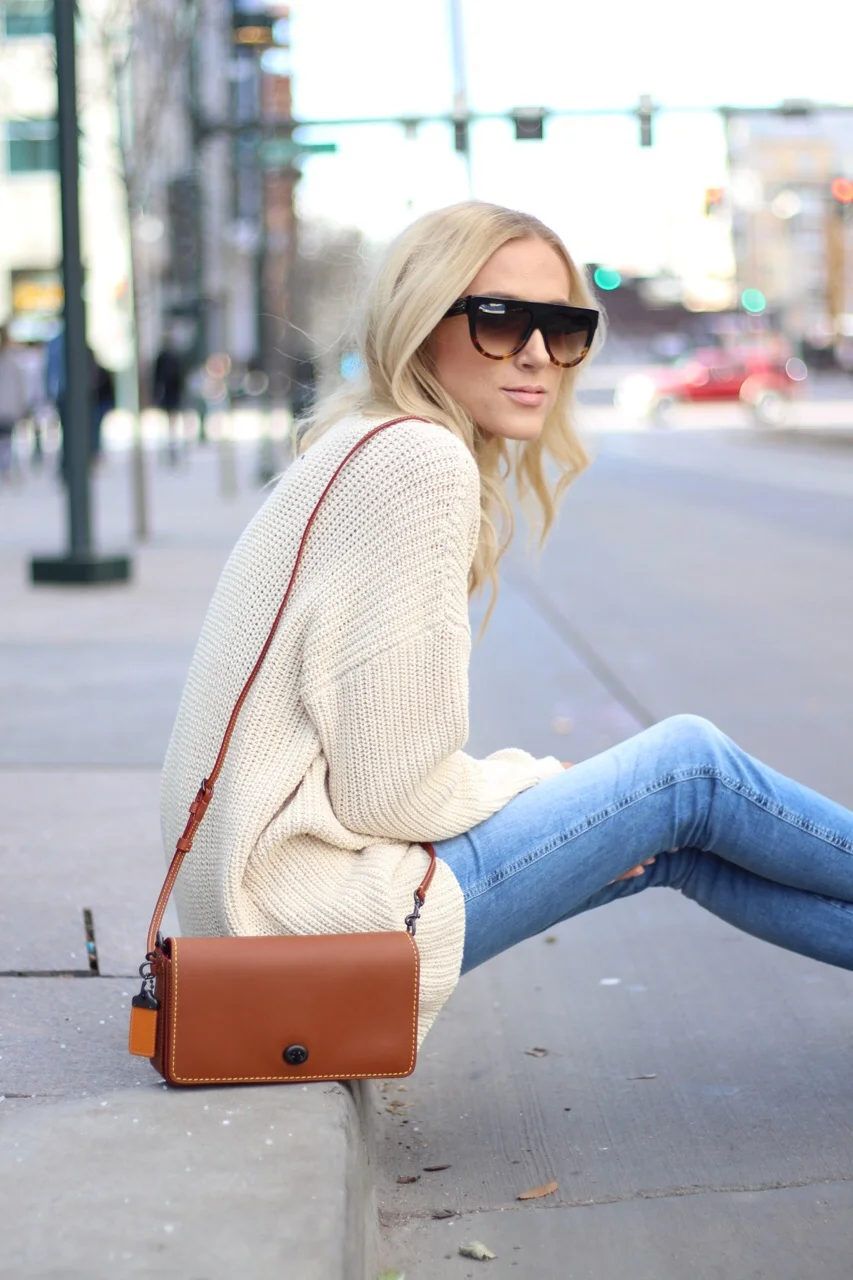
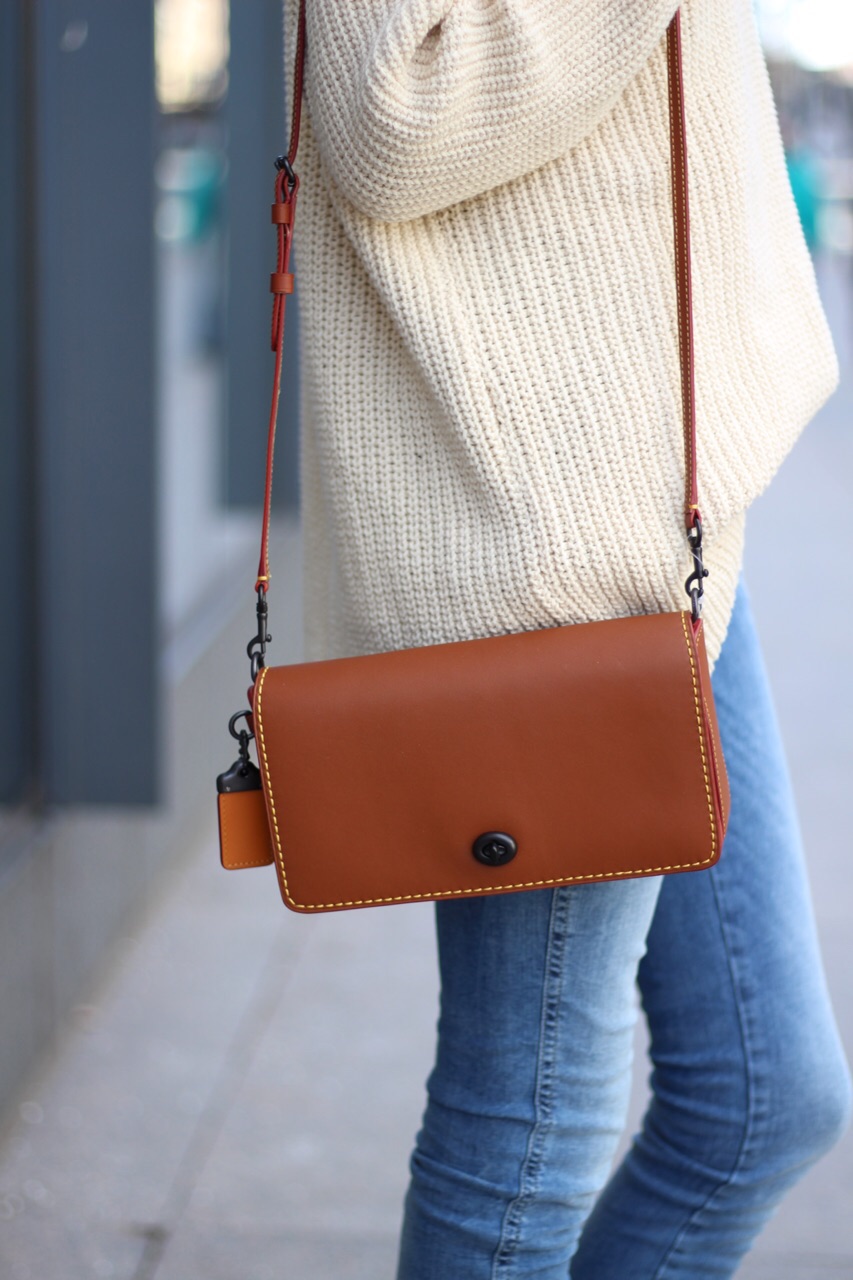
First, how cute is this sweater? I was so skeptical about the 'choker' sweater trend. It kind of confused me and didn't make a ton of sense, but after trying out out, I can easily say I'm a fan! It's a fun way to pair dainty jewels or fun bralettes and let them peek through. Paired with your favorite jeans and shoes, you're set. I added this gorgeous Coach Dinky bag because it's both simple, yet elegant enough to add an extra something to your outfit. 

That brings me to my next point. With such a saturated blogging market, I'm sure there are plenty of people out there who think, "Seriously? You're blogging about a simple sweater and jeans?" And those people have a point. My outfits are simple, that's no secret. Take a look at any of my blog posts and you'll see. I've always had a thing for simple outfits that are easy to throw on and run out the door. So why blog about it? Well I know I'm not the only one out there who thinks this way, but maybe throwing a simple outfit together, while still looking polished, isn't as simple as some might think. Then we add in the crazy health stories. That in itself could be a blog, but I don't want to be "The Health Blogger" or "The Cancer/Crohn's Blogger". I want to be a blogger that covers it all. The blogger that says, "Hey I have this crazy health story and it sucks, but I'm still out here living a normal life." My Blog is to share what I'm up to, what interests me, how I dress with my darn ostomy bag, and how I keep it all together in general and remain a somewhat normal feeling life despite everything I'm going through. 

I'm not great at fancy, crazy outfits. The hot trends don't always work on me. But I know what does, and that's what I want to share with you. Maybe you'll gain inspiration from one of my simple jeans + t-shirt combos. I love trying out fun new things and seeing if they work for me, and if they do, well, you know they'll be featured on Sweet & Sauer. 

Is there anything you want to see on Sweet & Sauer? More makeup/beauty posts? I just bought the Neutrogena Light Therapy Face Mask Light and will do a full review once I'm done. Is there anything else? I love having this as an outlet for me, but at the end of the day, you all are reading what I put out there, so let's make sure you enjoy what you're reading, eh?


SHOP THE LOOK

Sweater / Jeans / Shoes / Sunnies / Bag c/o

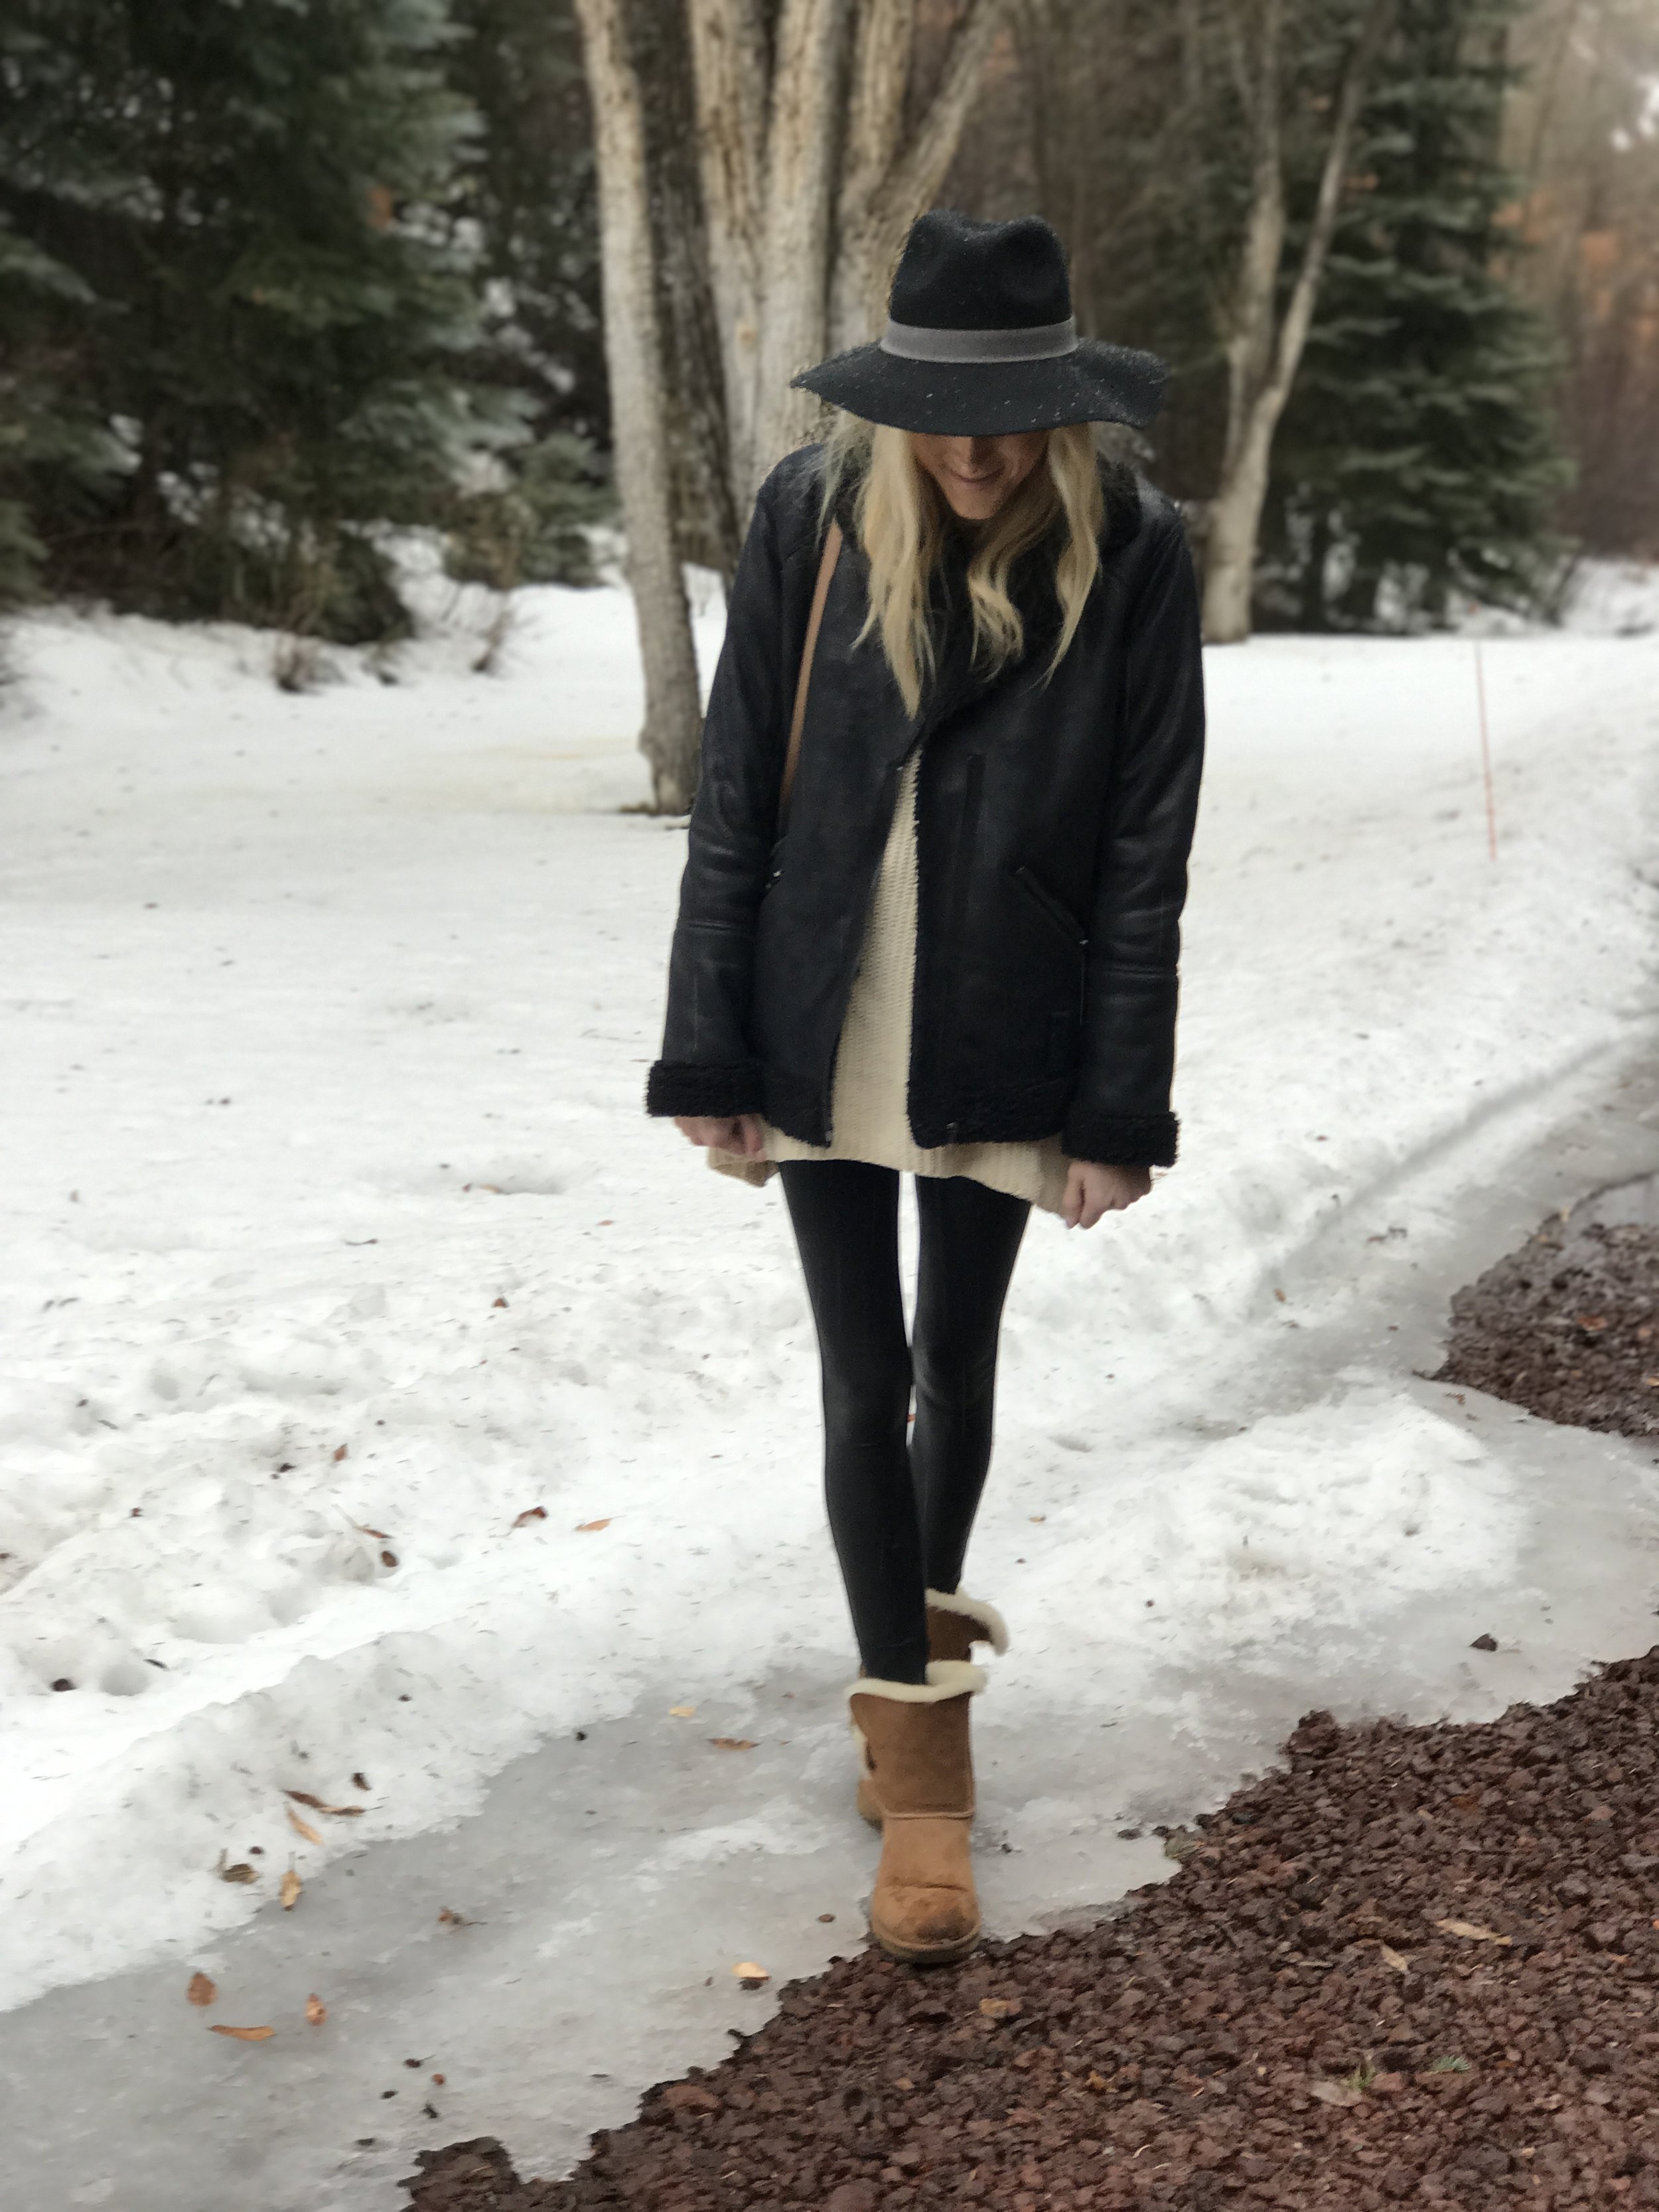
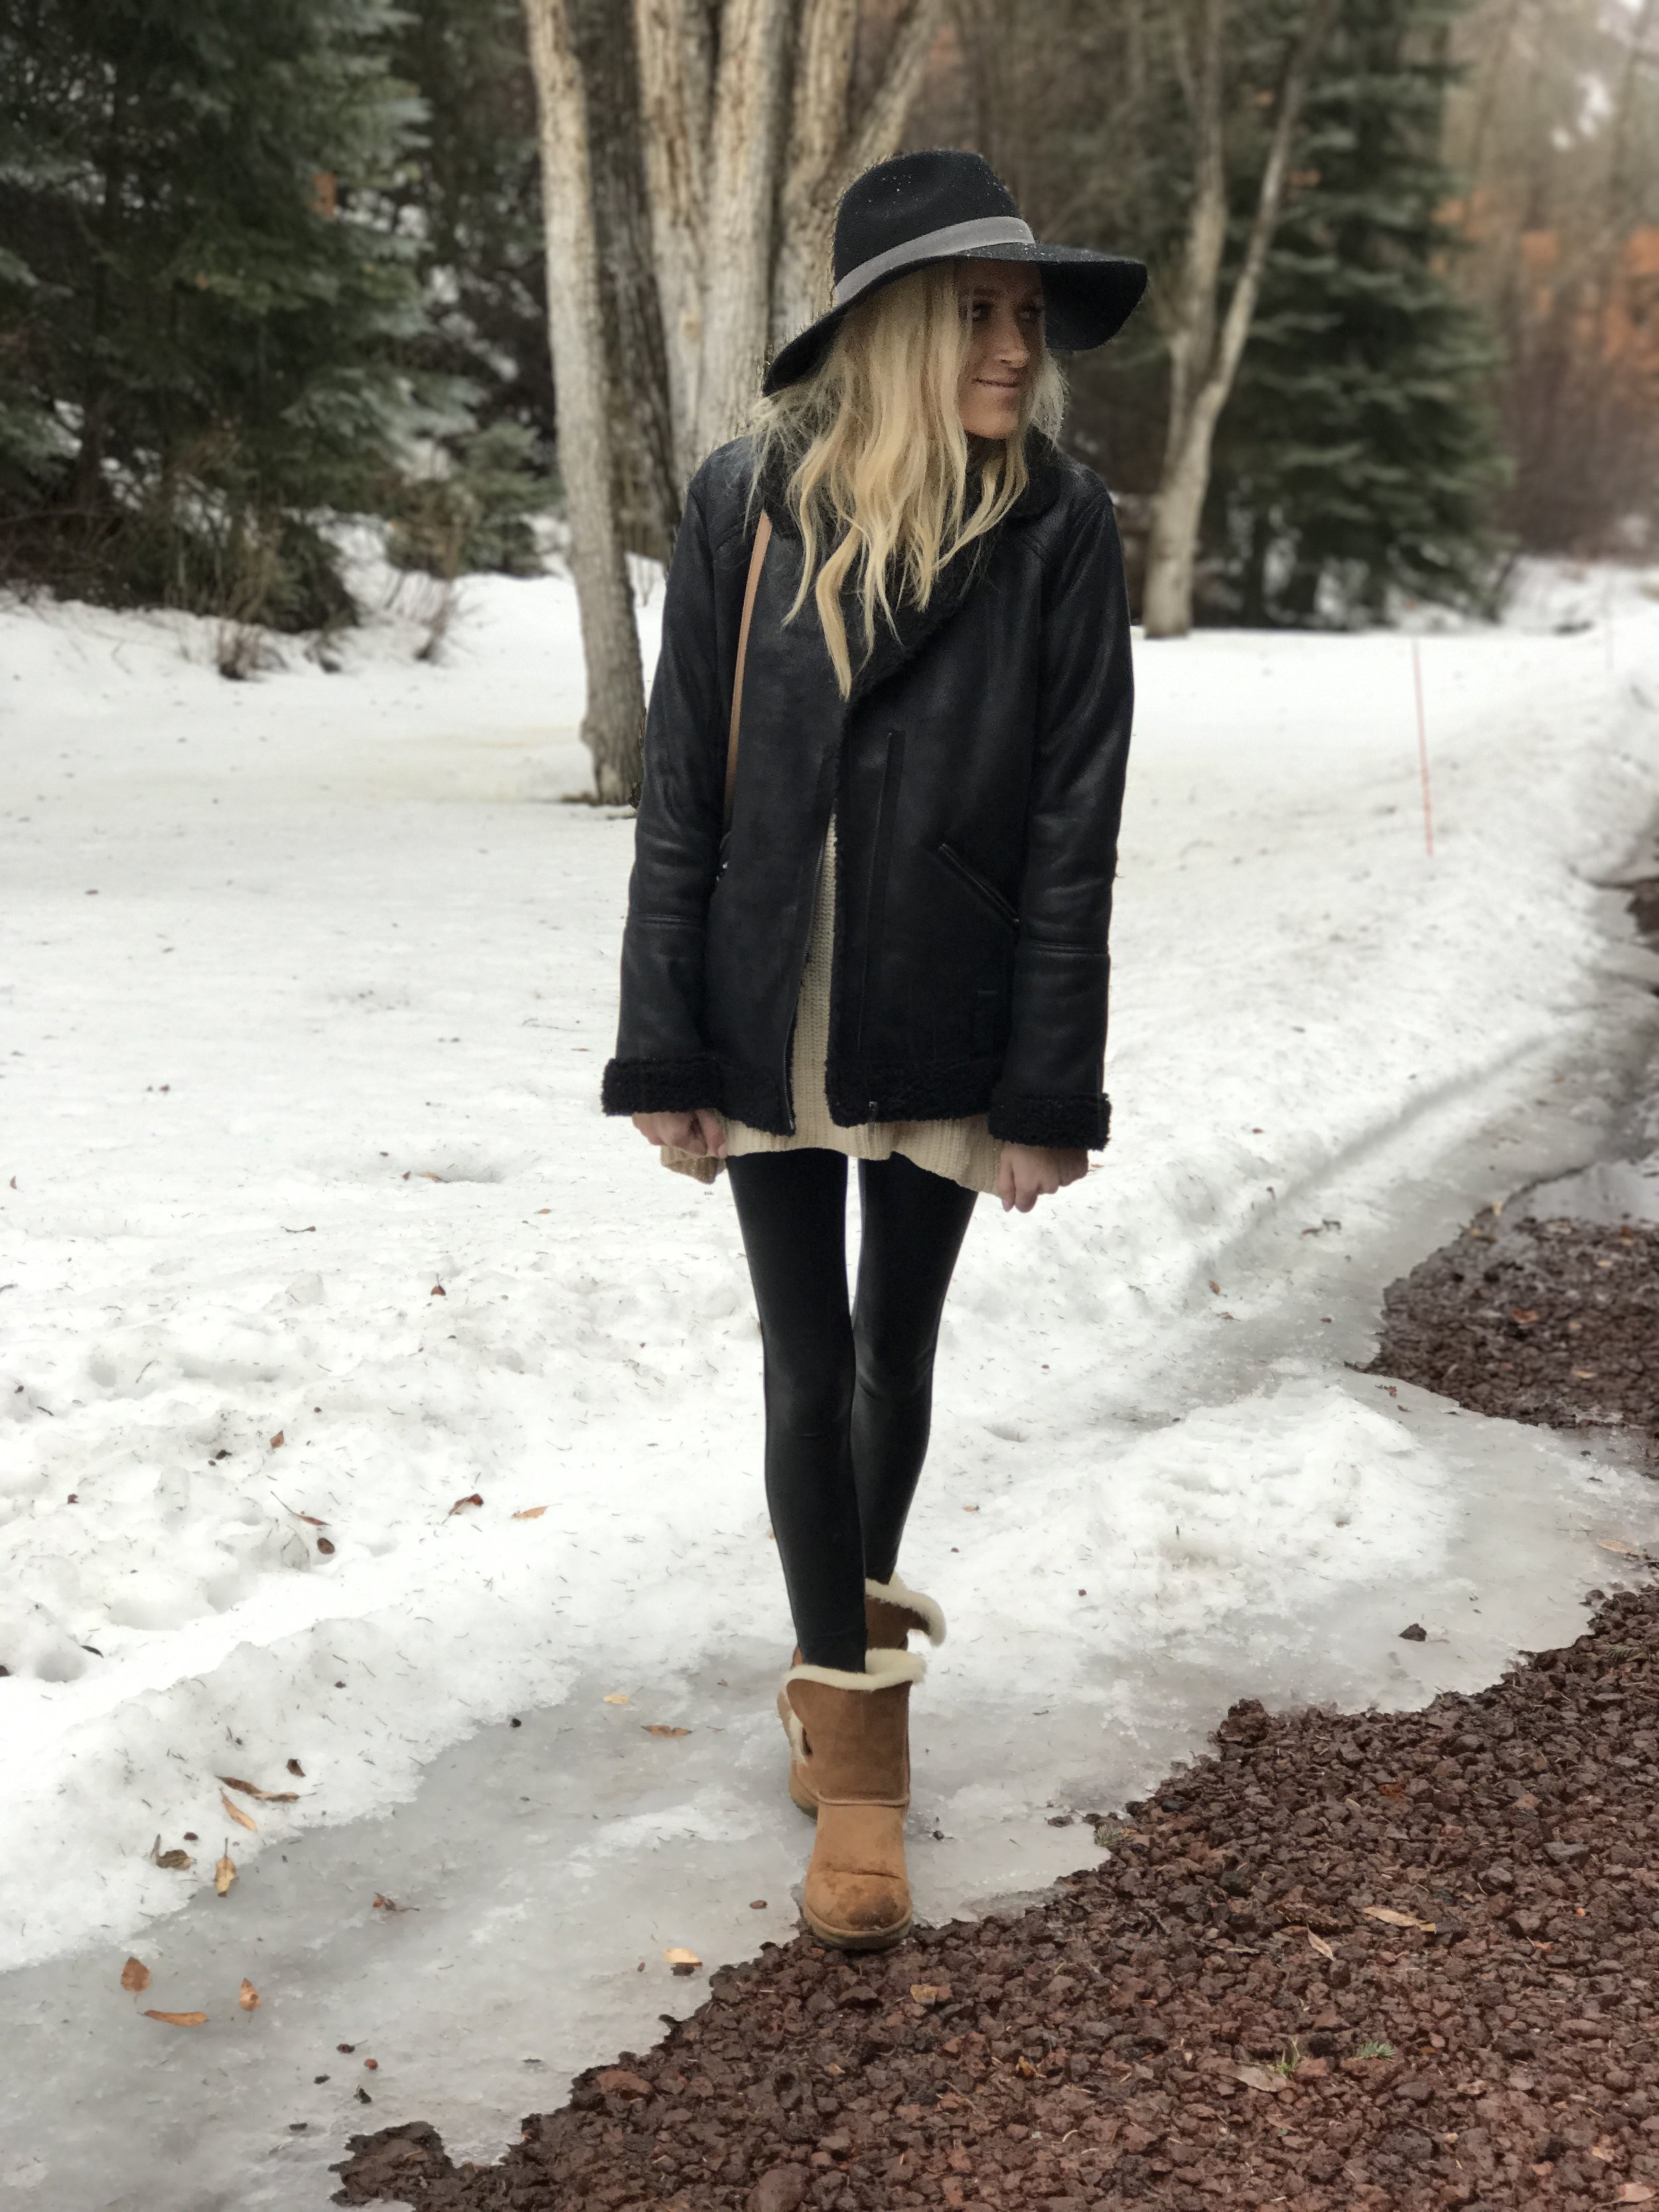
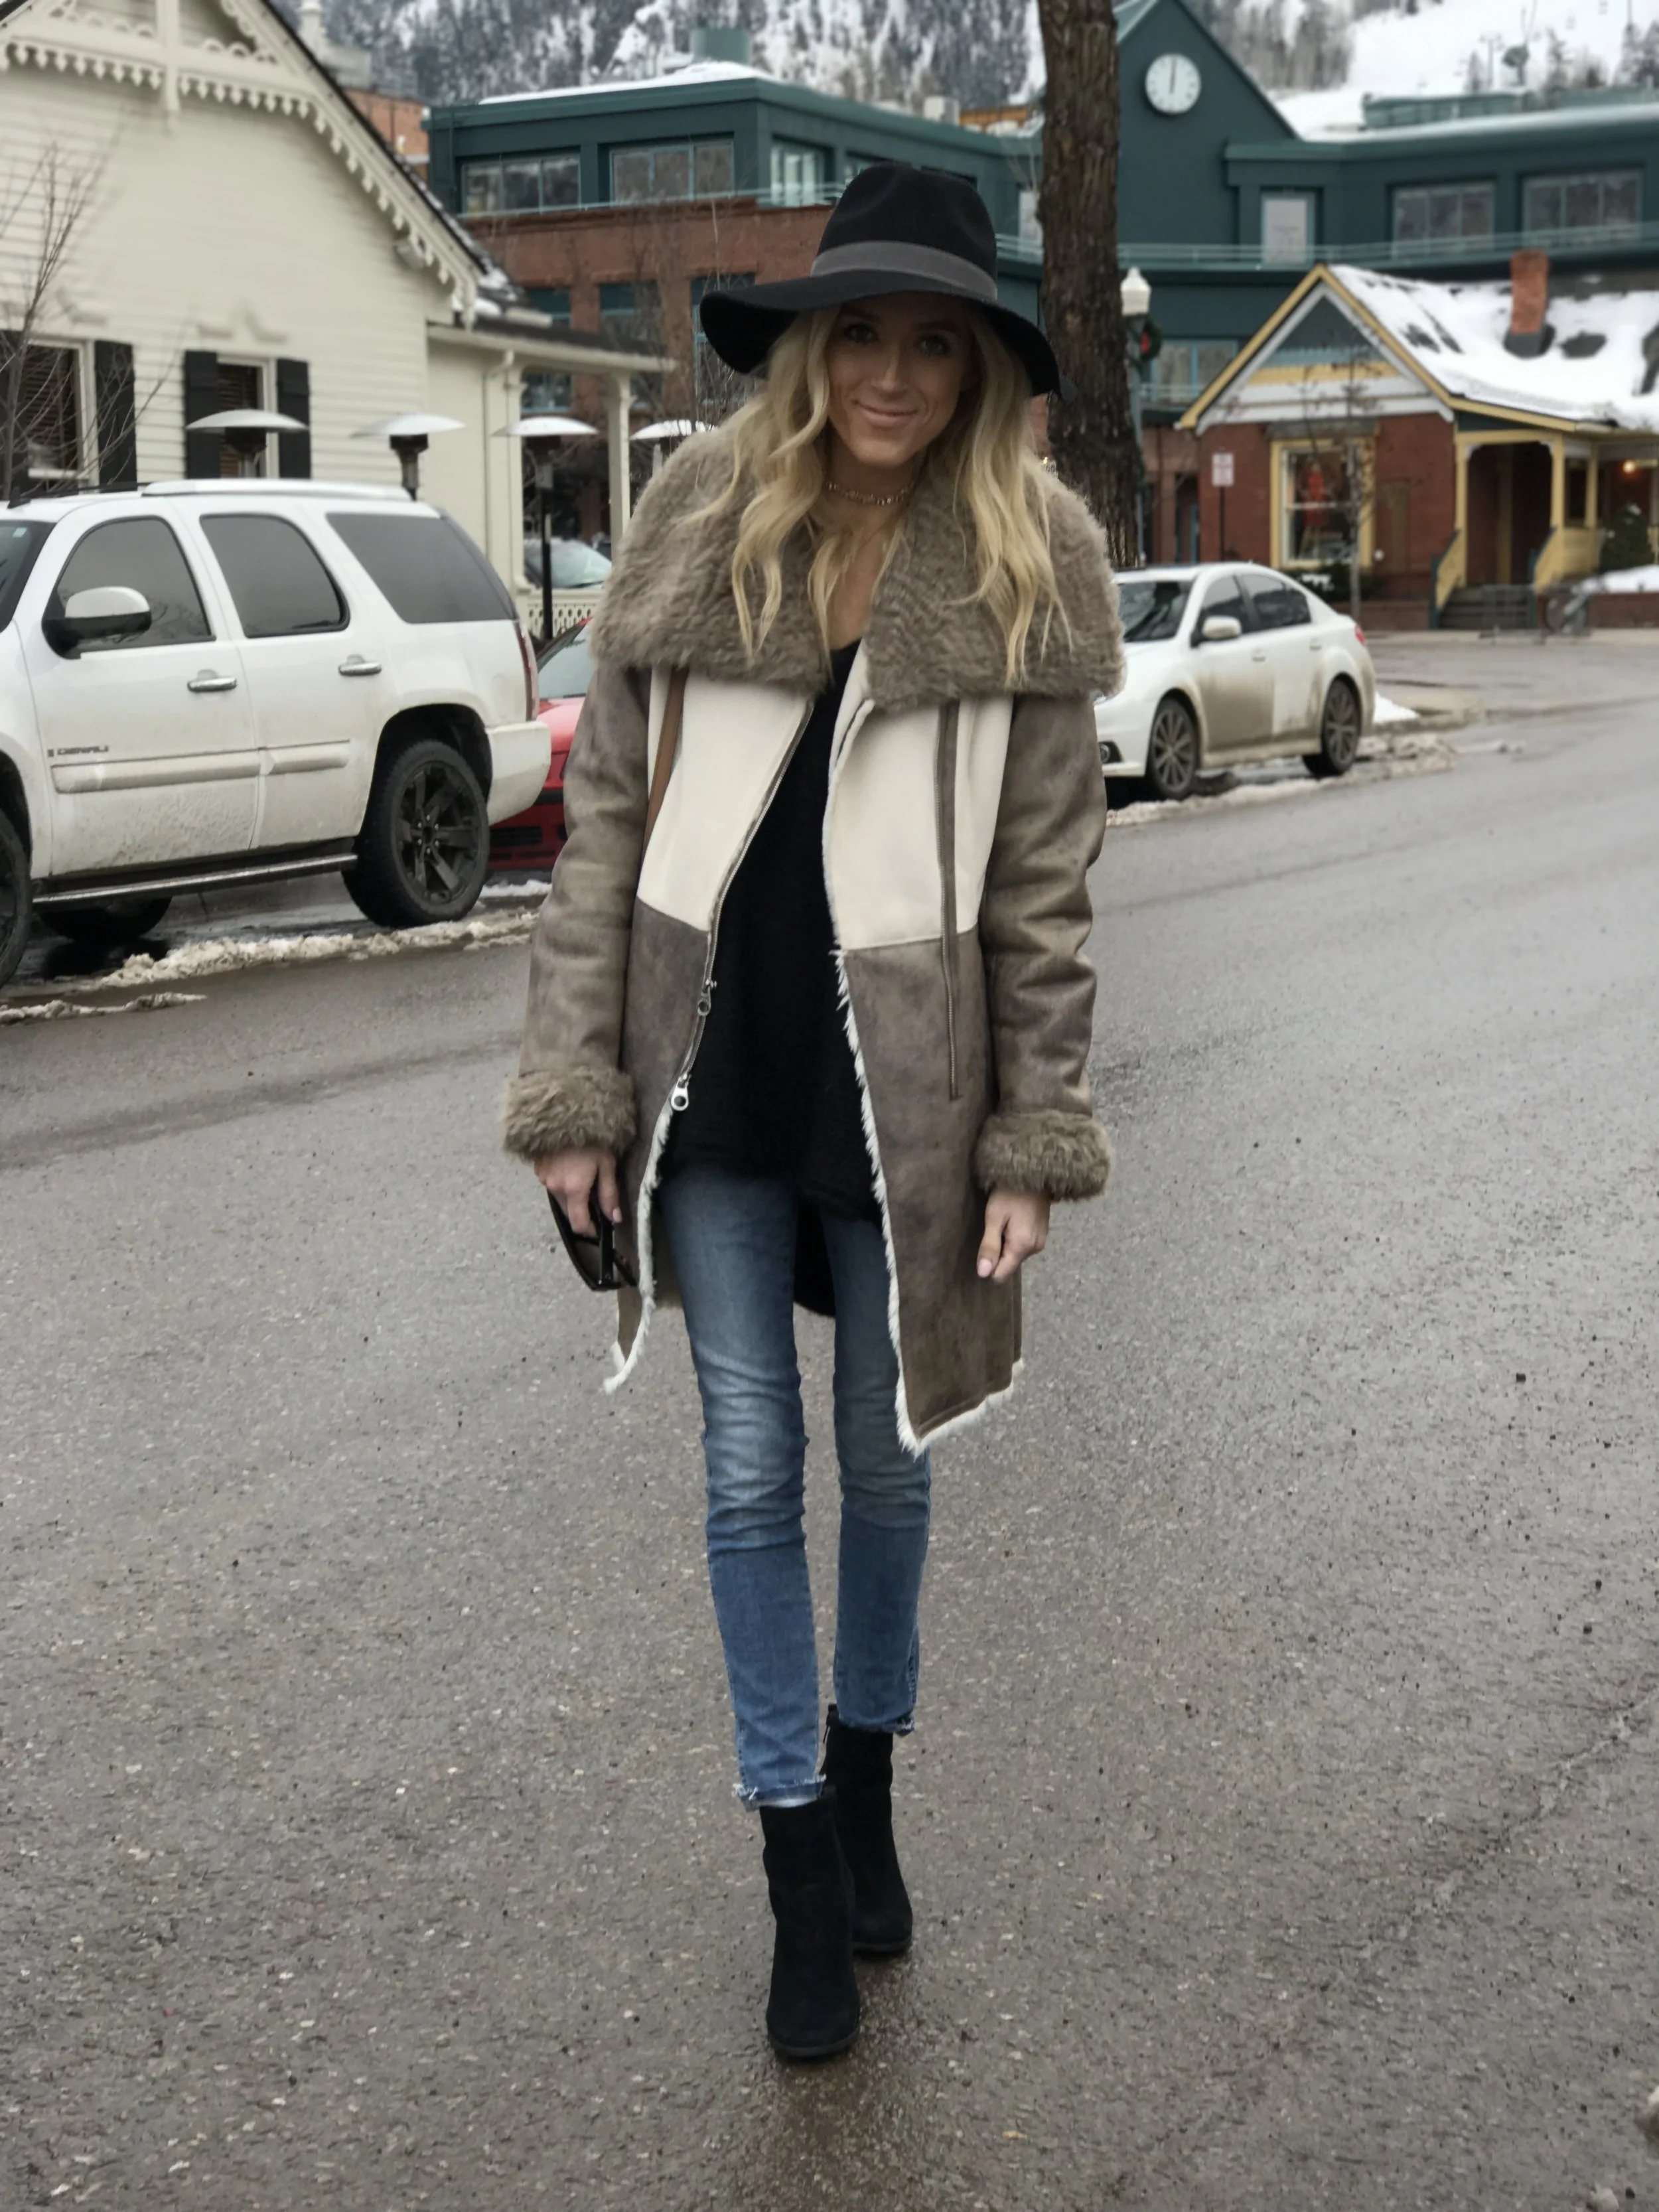
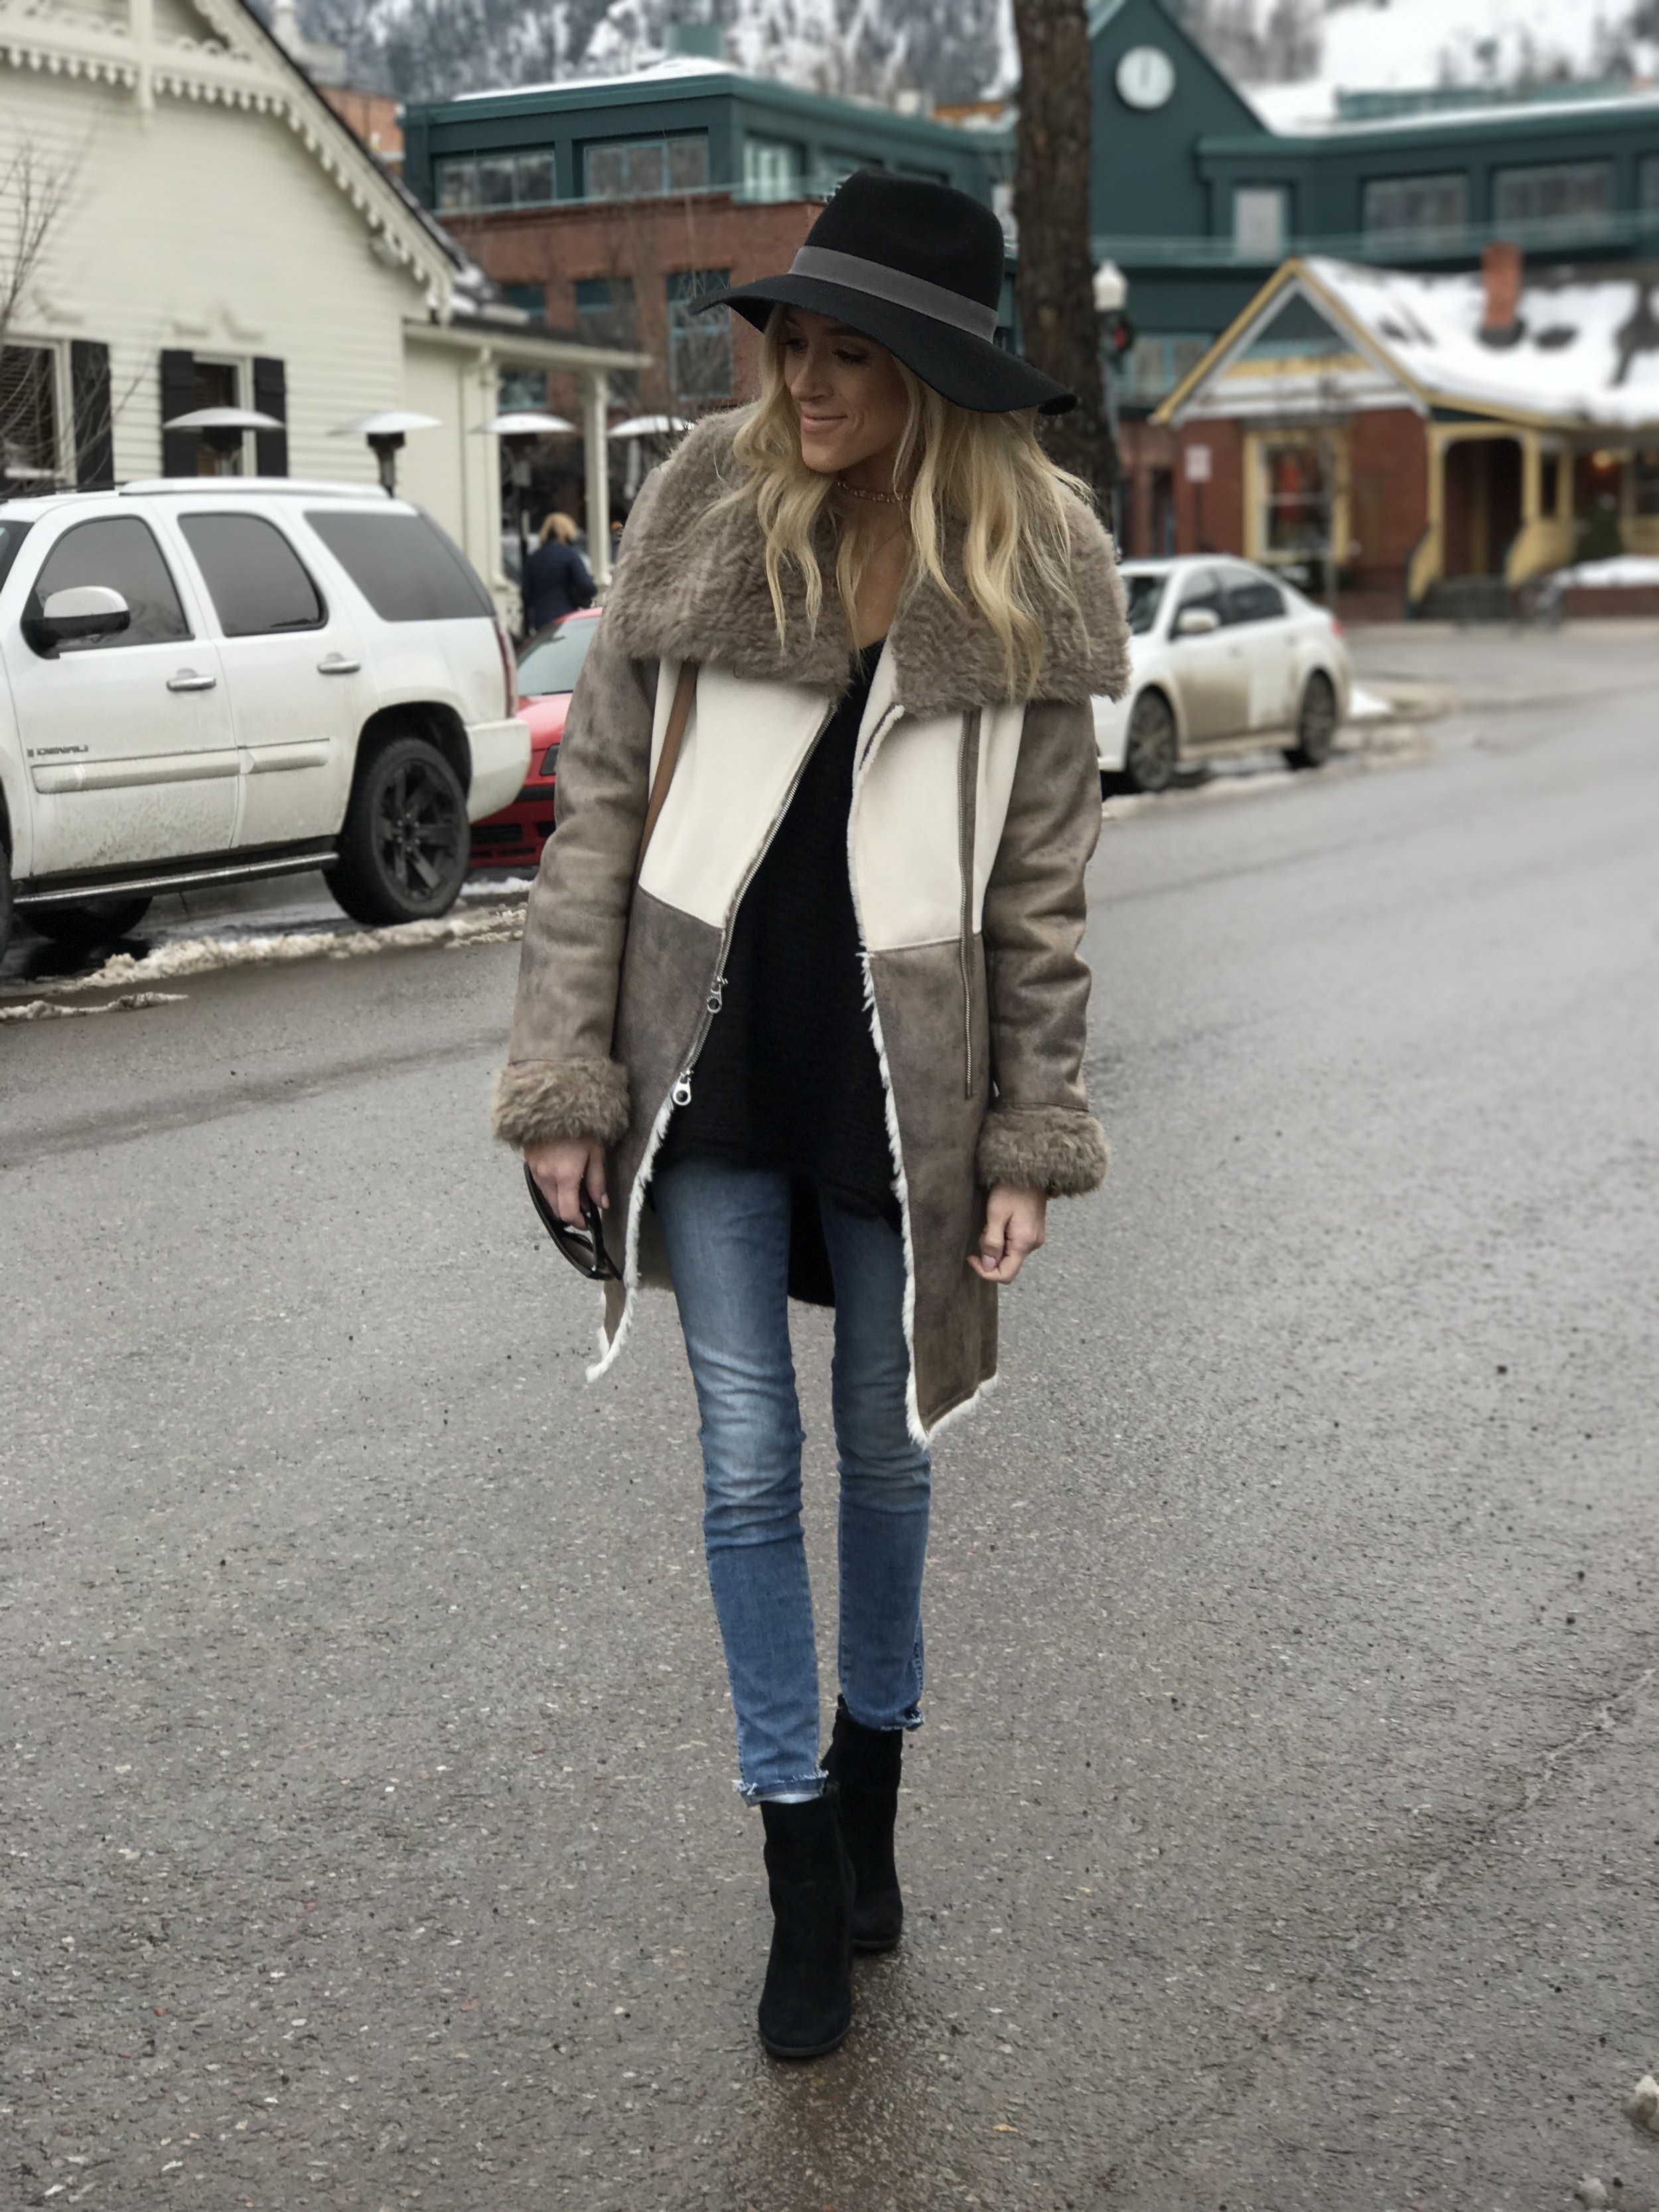
Aspen Outfits

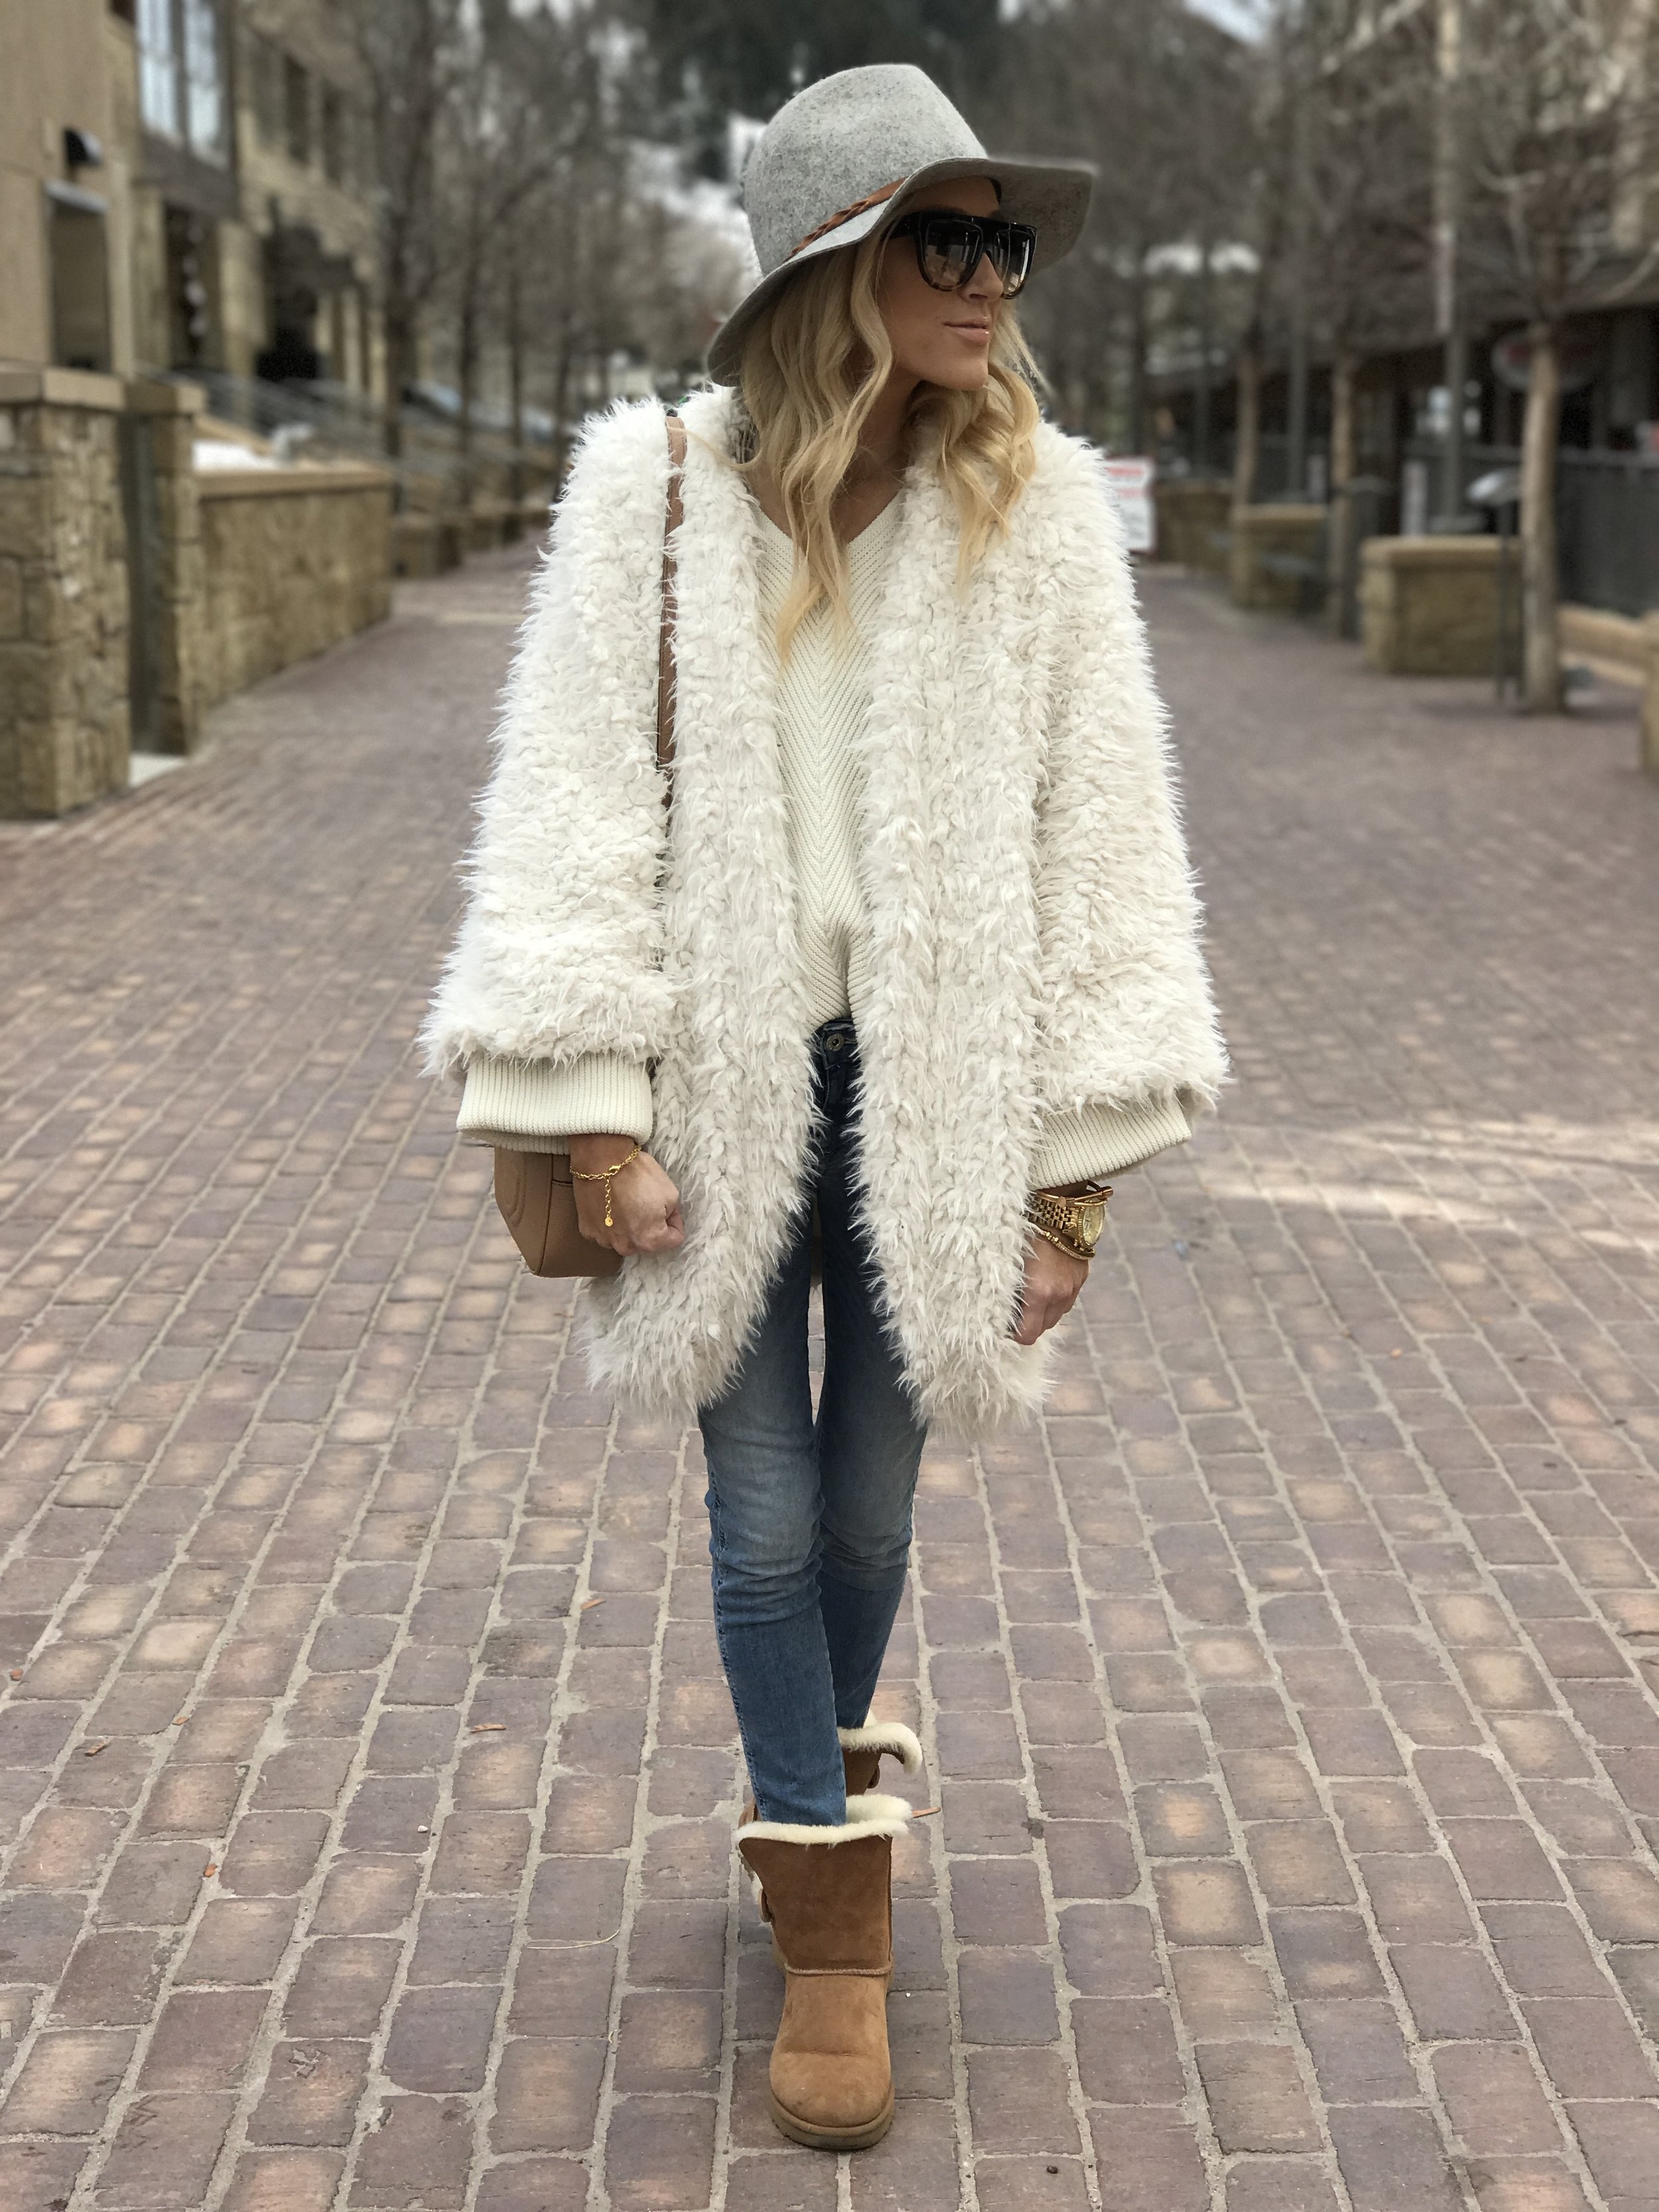
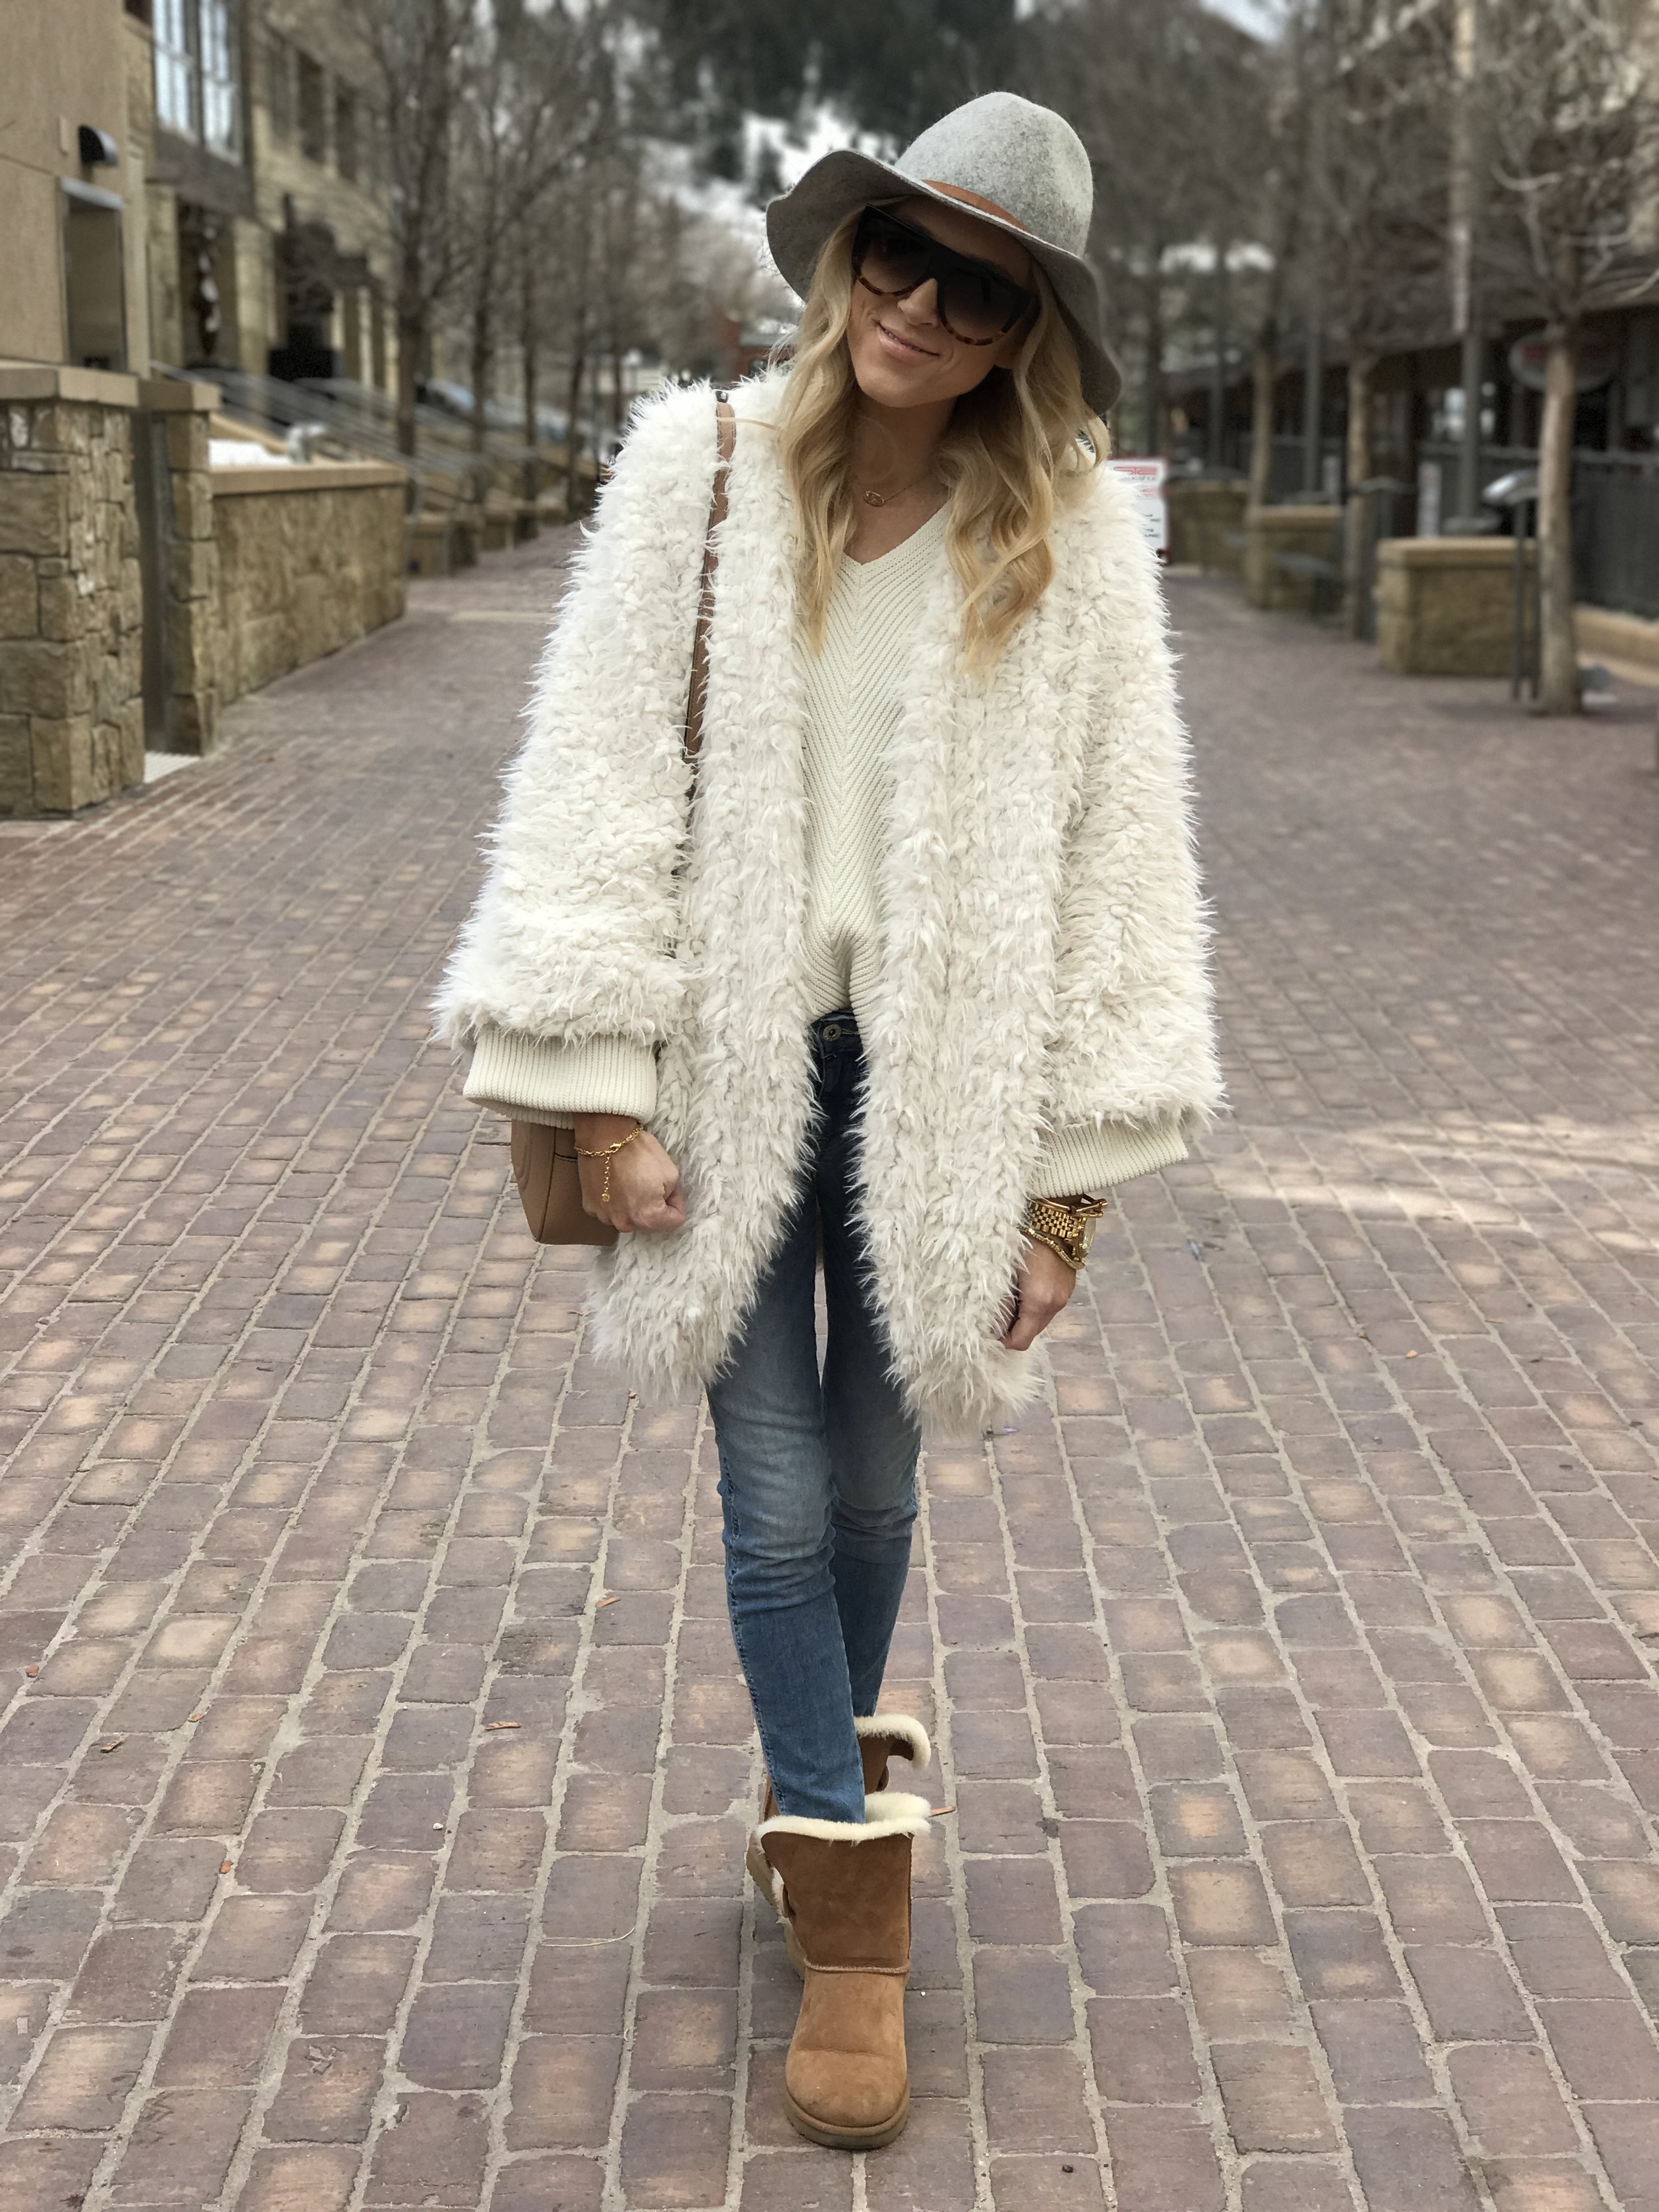
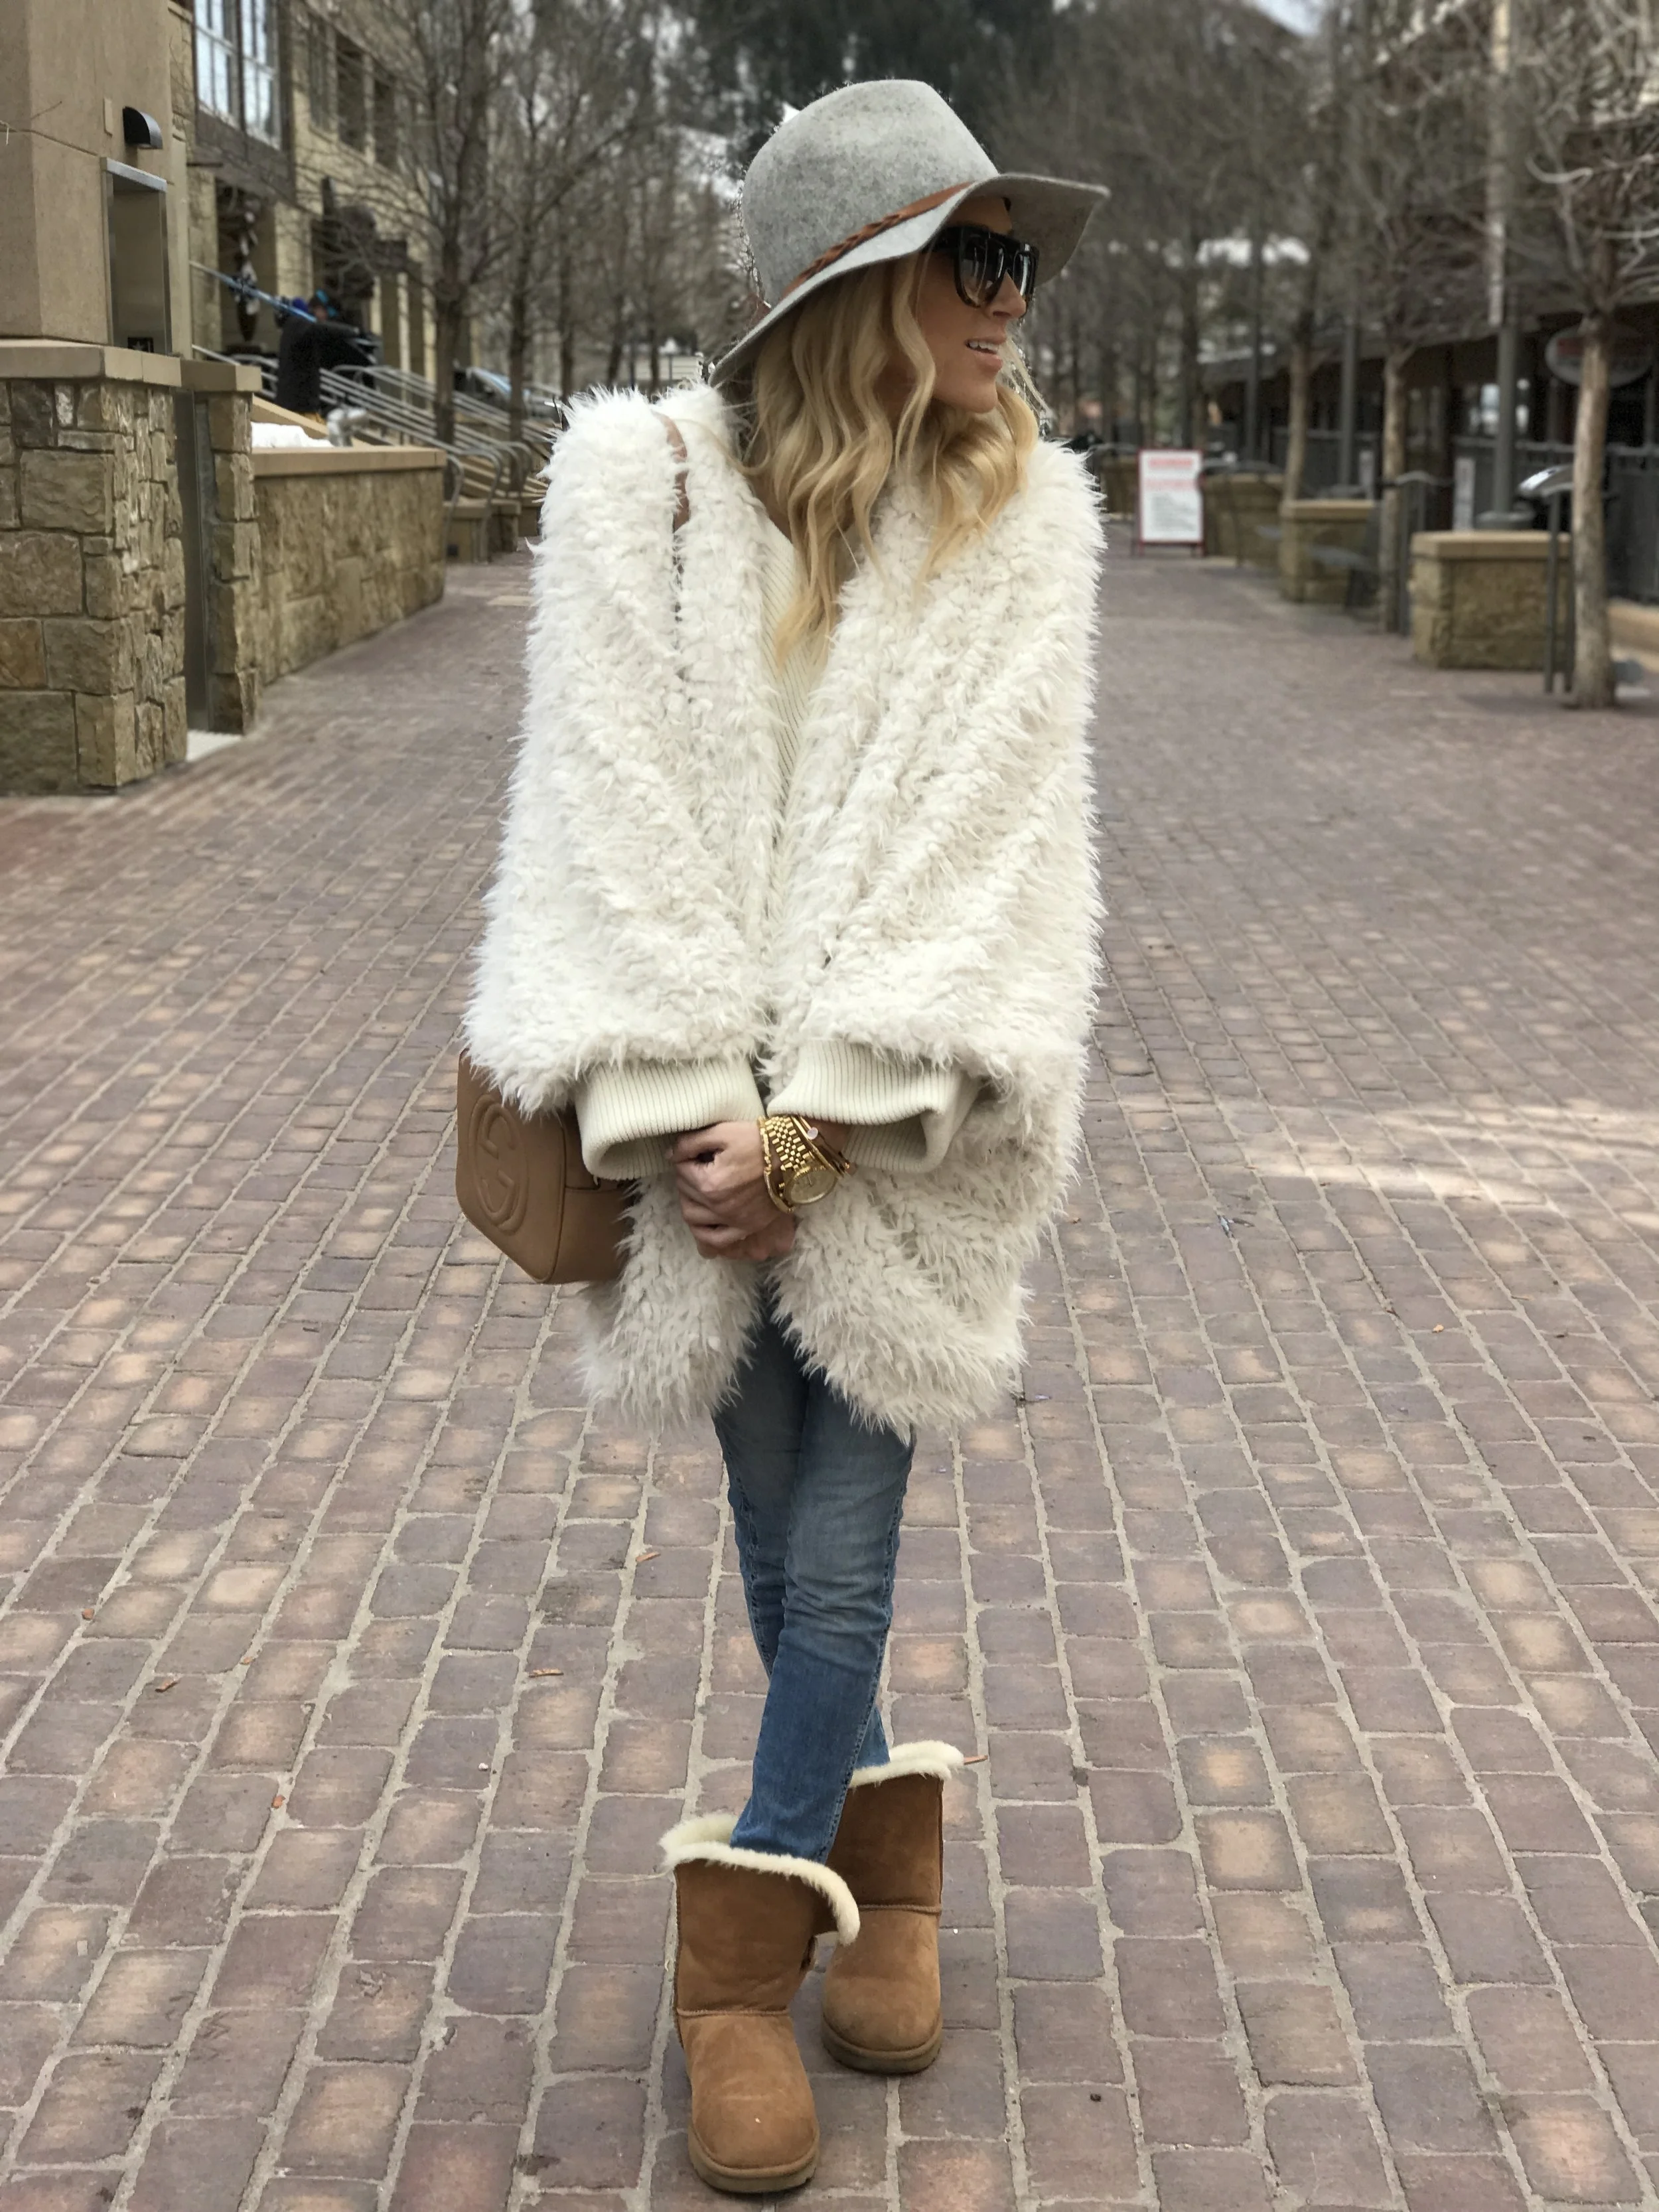
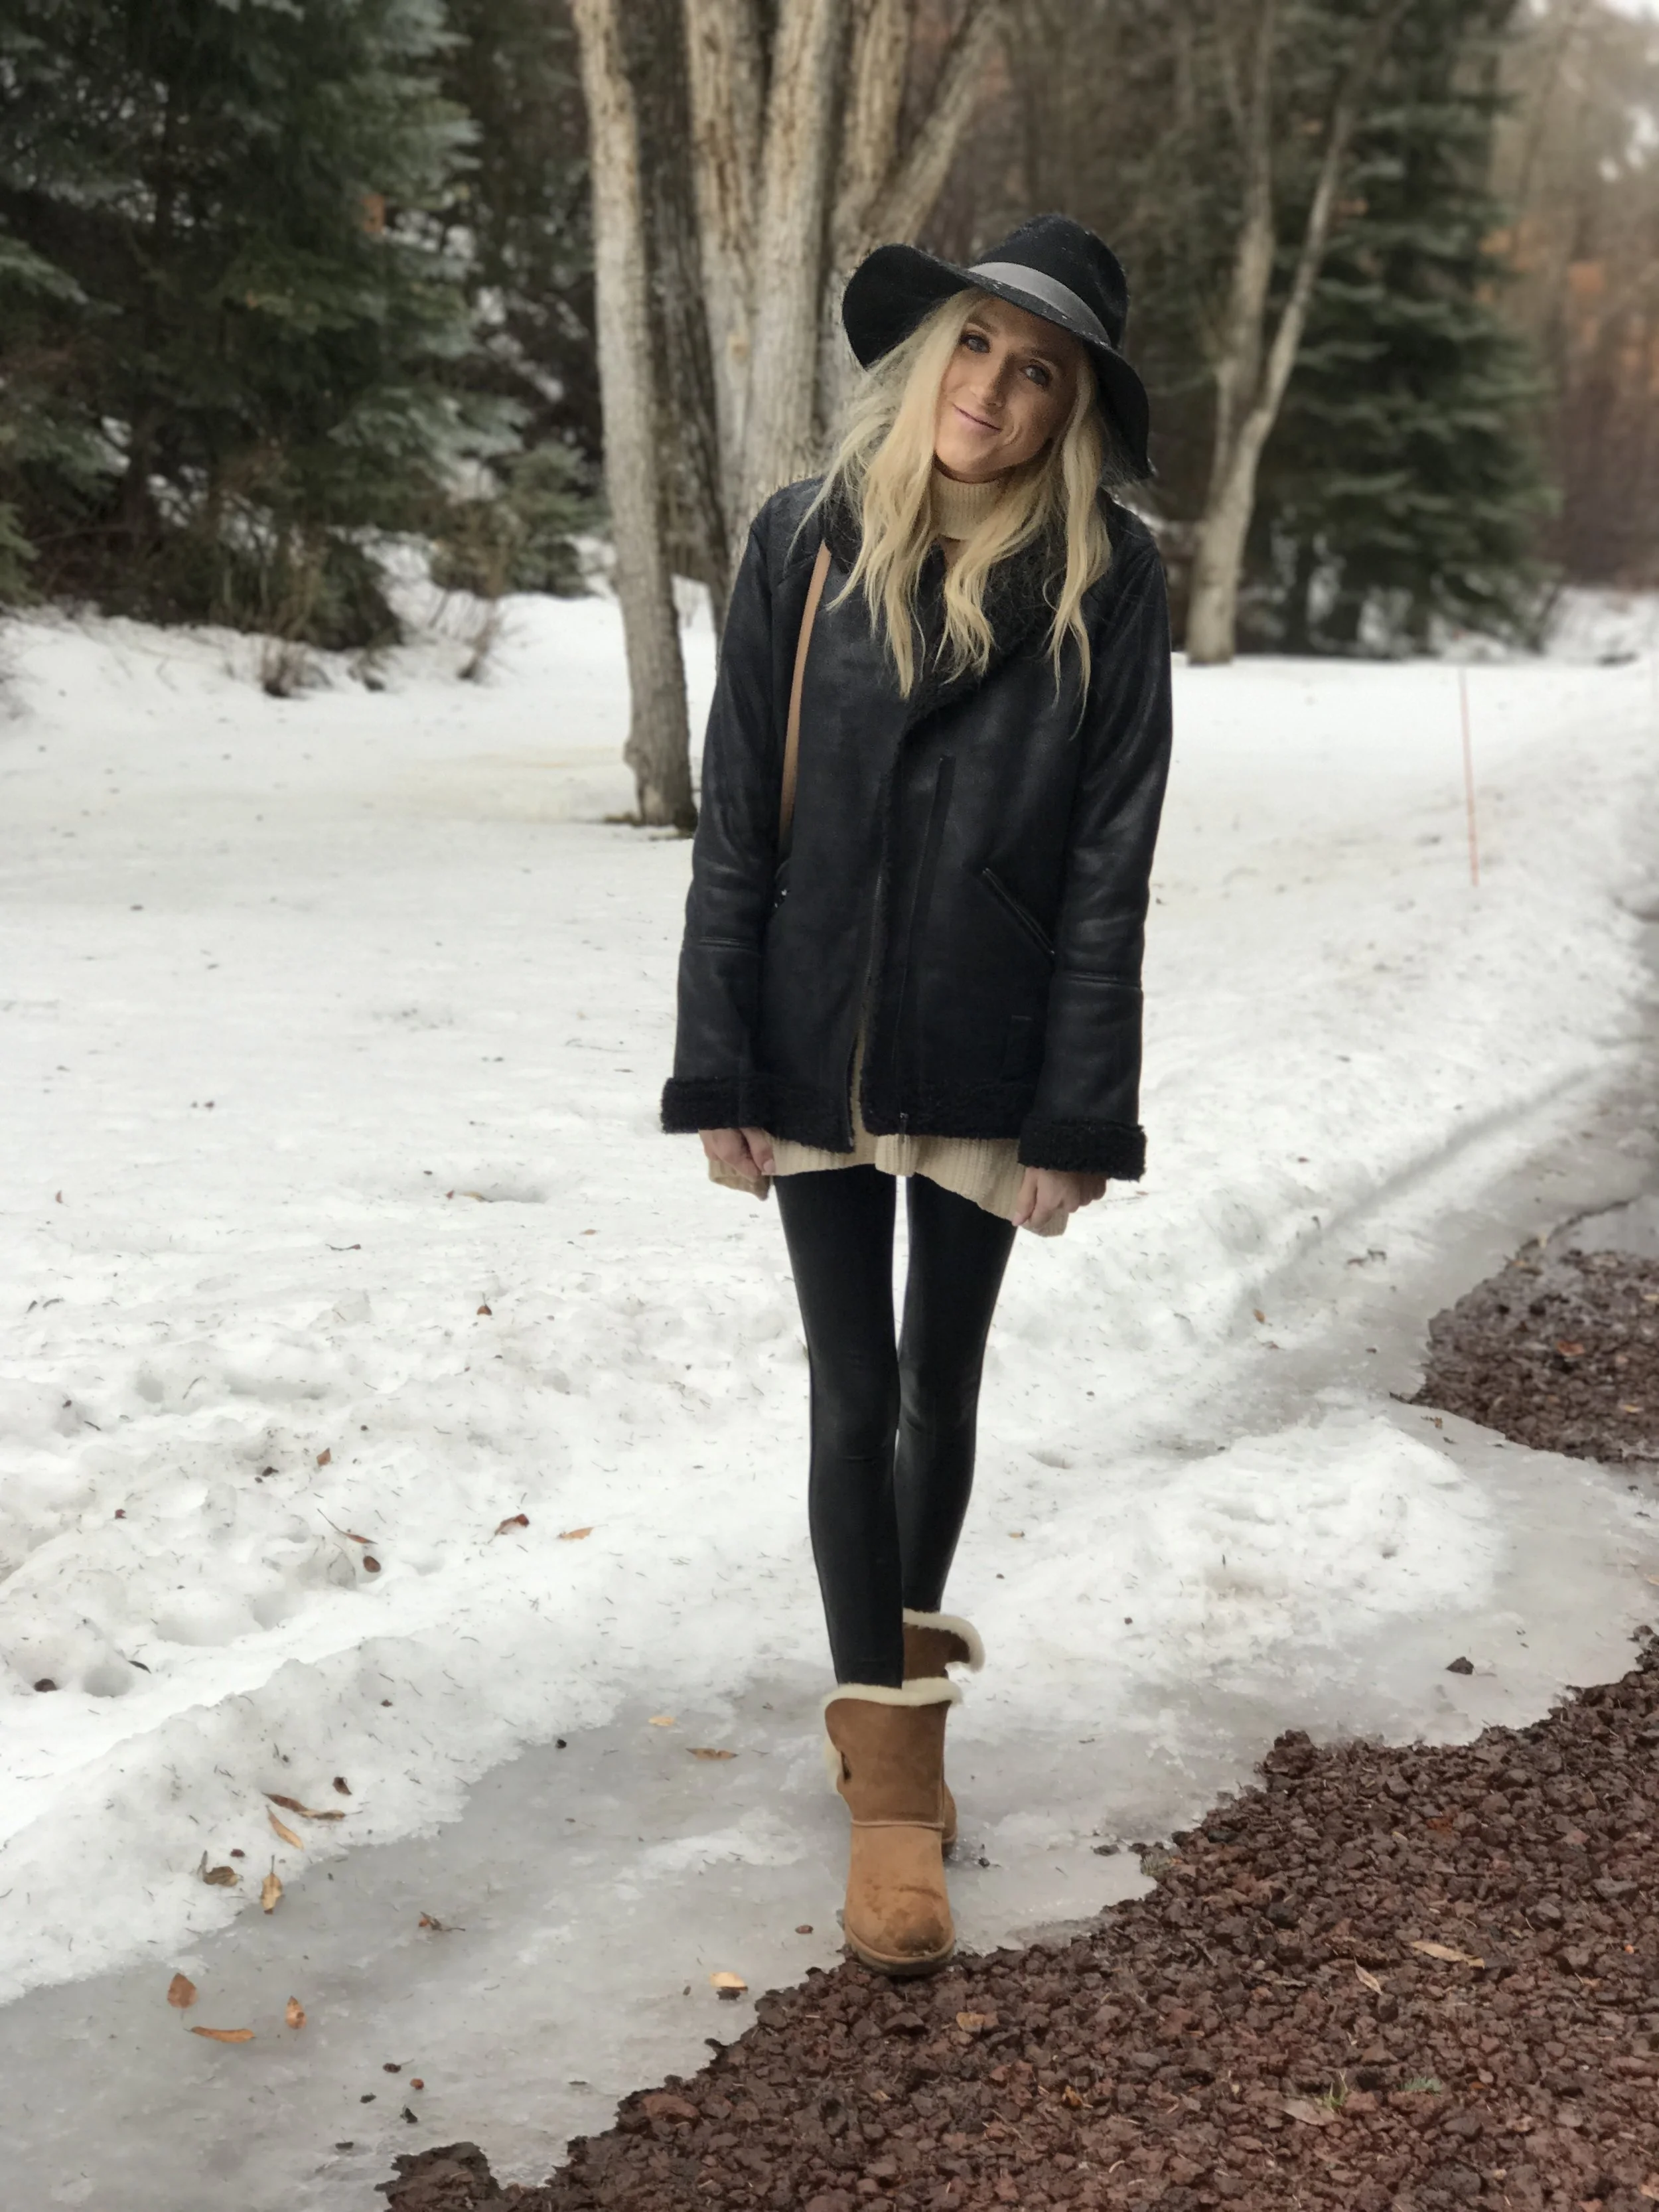
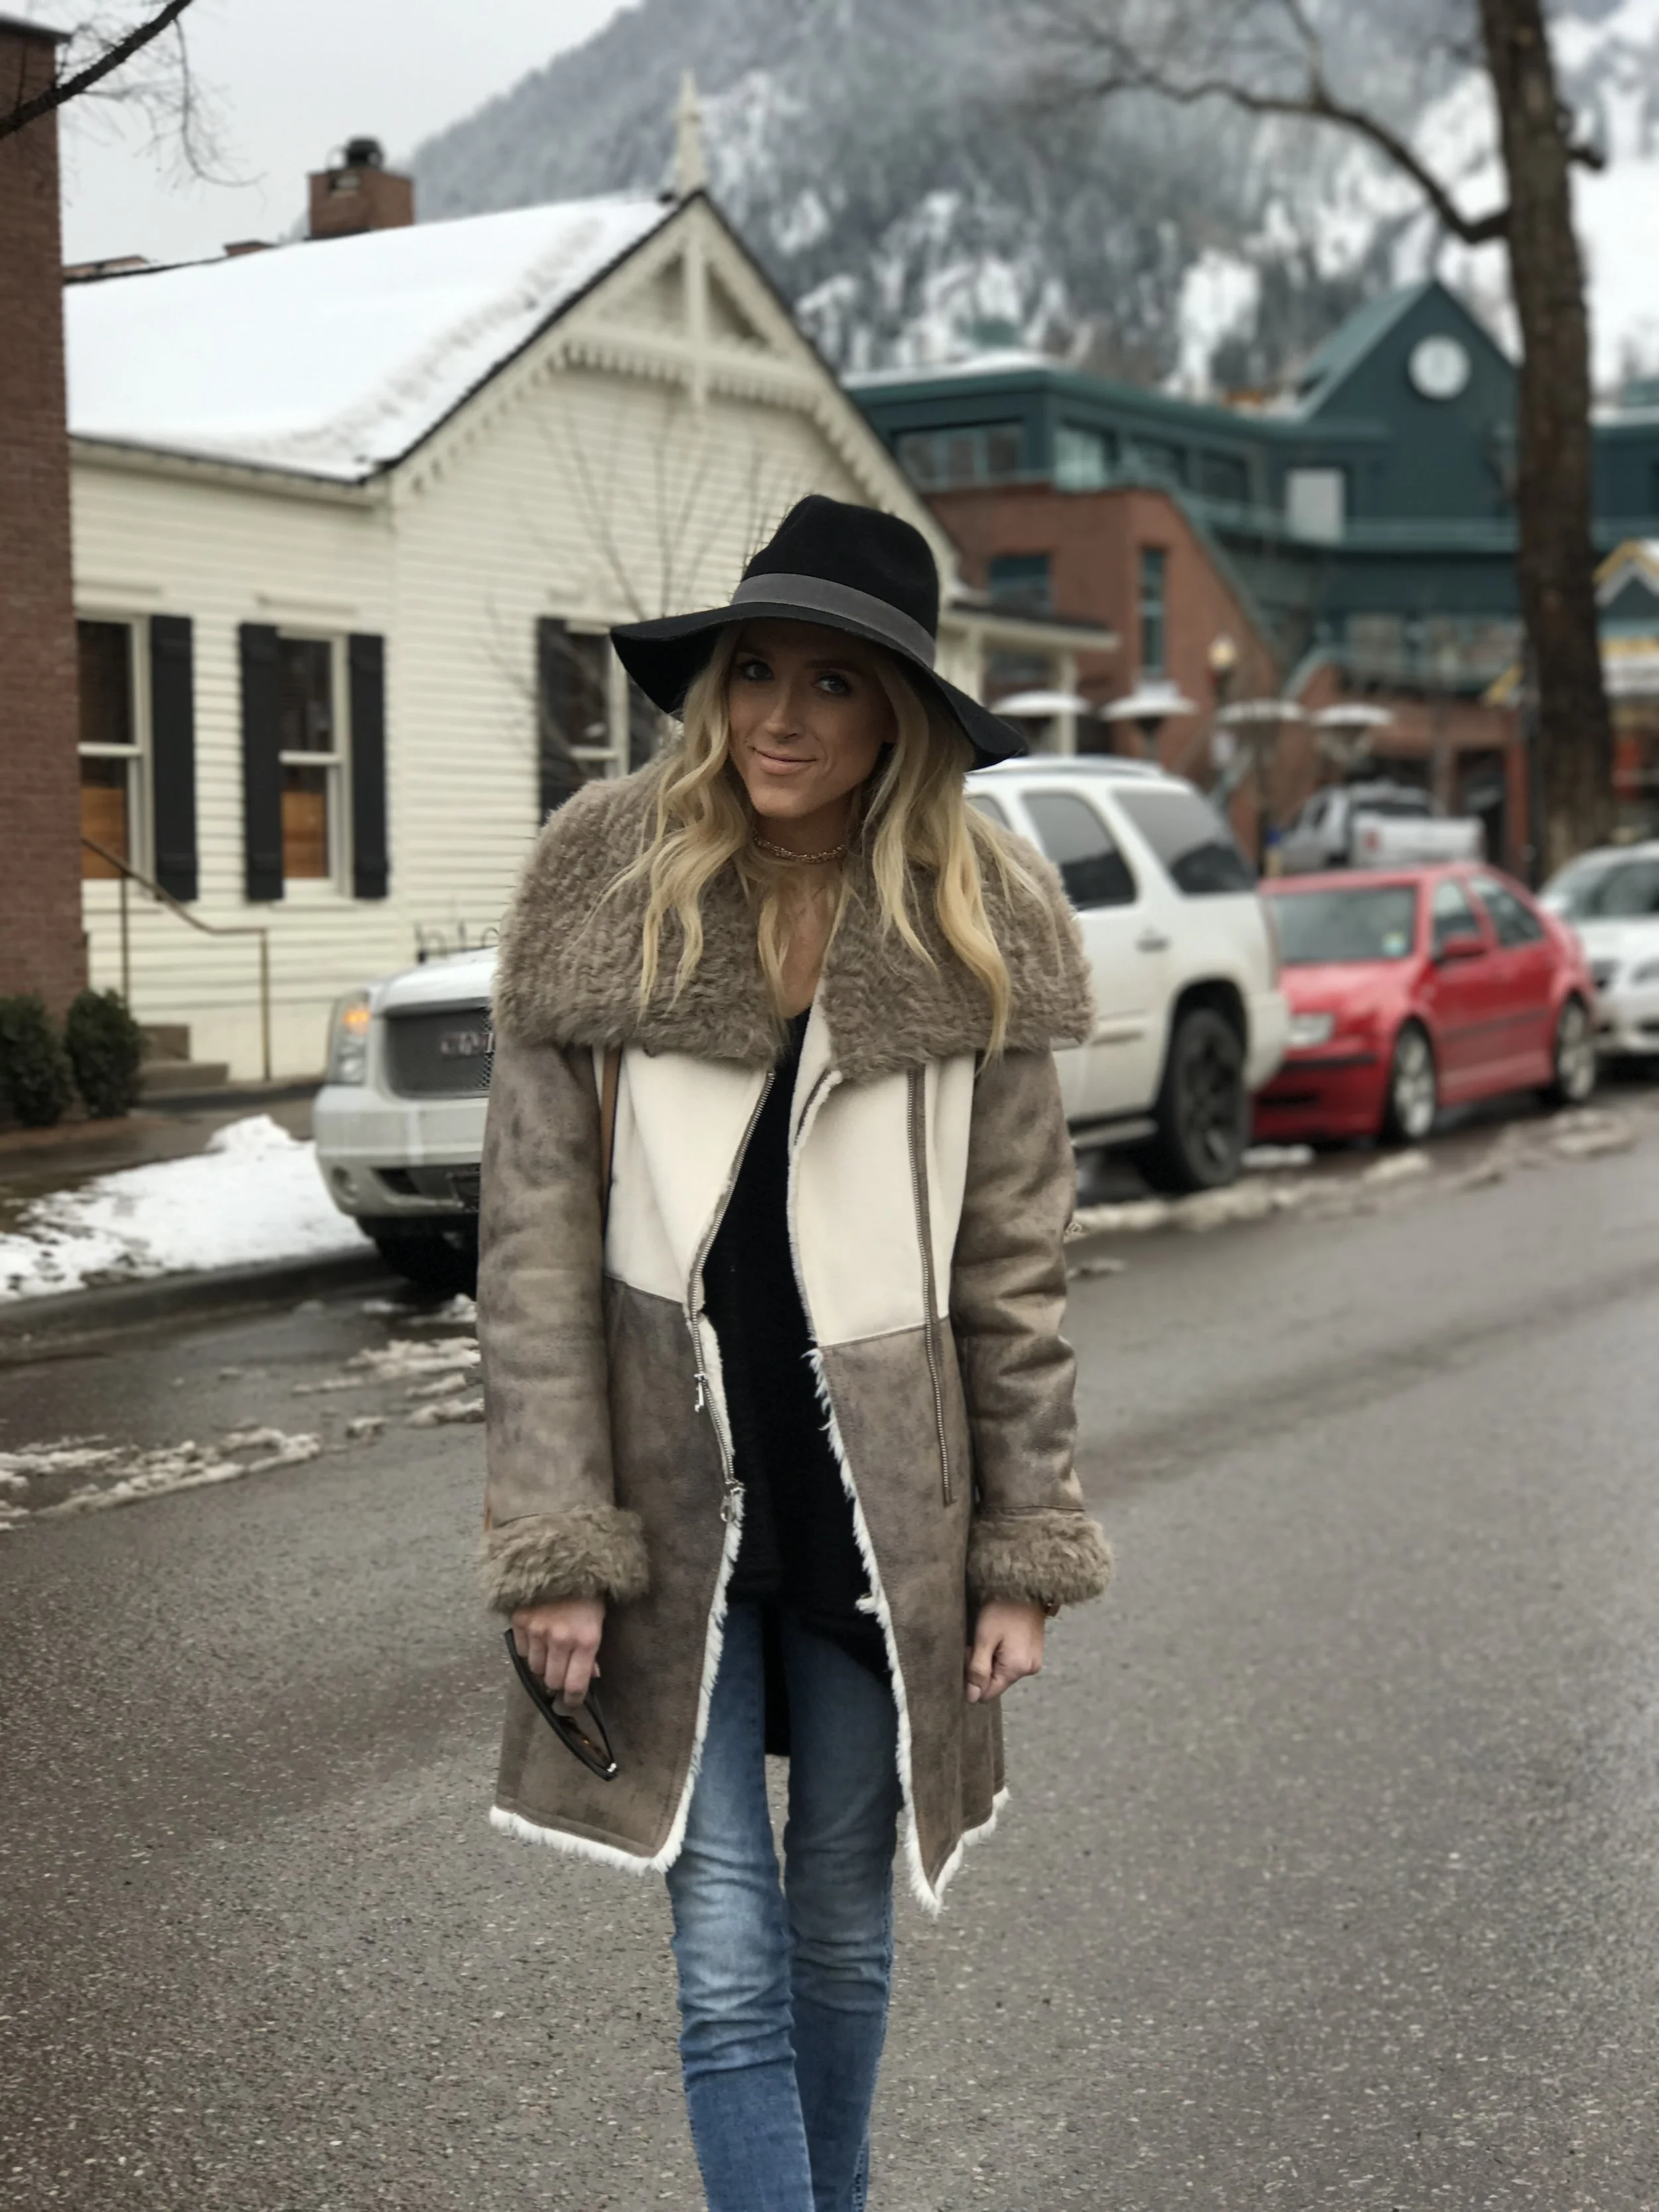
Hi friends! Hope you had an amazing weekend! I posted some OOTD pics on Instagram while I was in Aspen and received lots of questions about outfit details, so I thought it would be easiest to put all details in one blog post for you! 

DAY 1: 

Jacket (sells out quick, but sign up for restock notifications because they restock frequently) similar HERE, HERE, HERE, HERE / Sweater / Jeans / Hat / Boots / Purse (dupe here) / Sunnies / Watch / Bracelet

The first day, I spent the morning resting at the house and then met my parents in town later for a little aprés ski. It was chilly so I wanted to be comfortable and wear cozy layers. 

DAY 2:

Jacket / Sweater / Leggings (must have!) / Hat / Boots / Purse

The second day was weird weather - it started off raining and then got really snowy. My mom and I walked around town and did a little shopping, but decided to call it a day once it got too snowy to walk around. 

DAY 3:

Jacket (super old), similar HERE, HERE, HERE, HEREHERE/ Sweater / Jeans / Hat / Booties / Bag

Our last day was probably the most fun. I spent the morning at the house resting while my parents skied, but then we had a super fun afternoon in town. We went to the Hotel Jerome for a drink and some appetizers, then went across the street to Matsuhisa for THE BEST sushi. They have multiple locations - if you ever have the opportunity to eat there, DO. We sat at the sushi bar and chatted with the chef - lots of fun to dine that way. 

-----------------------

Hope you guys had a great weekend! If you have any questions on my outfits or things we did in Aspen, please don't hesitate to ask!